
Guide to Cyanotype
“Cyanotype” is a photographic printing method that produces prints characterized by the typical Prussian Blue color.
The process was developed in 1842 by the scientist and astronomer Sir John Herschel, who adopted it primarily for reproducing notes and diagrams (a use that was employed until the mid-twentieth century in architecture, hence the English term blueprint as a synonym for planimetry).
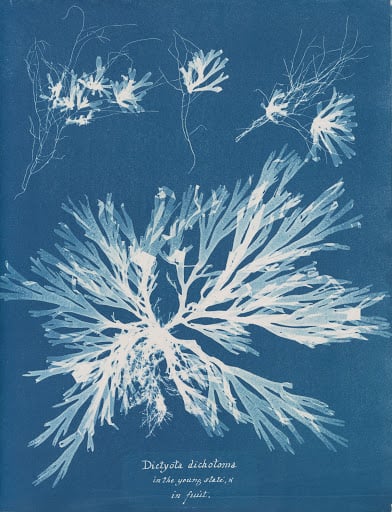
from Part XI of Photographs of British Algae: Cyanotype Impressions, 1849–1850.
First to make photographic use of them was Anna Atkins, a botanist and photographer, who published a book of cyanotypes of algae, considered the first book with photographic images in history.
Printing cyanotypes is a simple and rewarding process that can be easily done at home. You can buy the chemicals in powder form, or buy a kit with the solutions already diluted (in which case you can skip the first step).
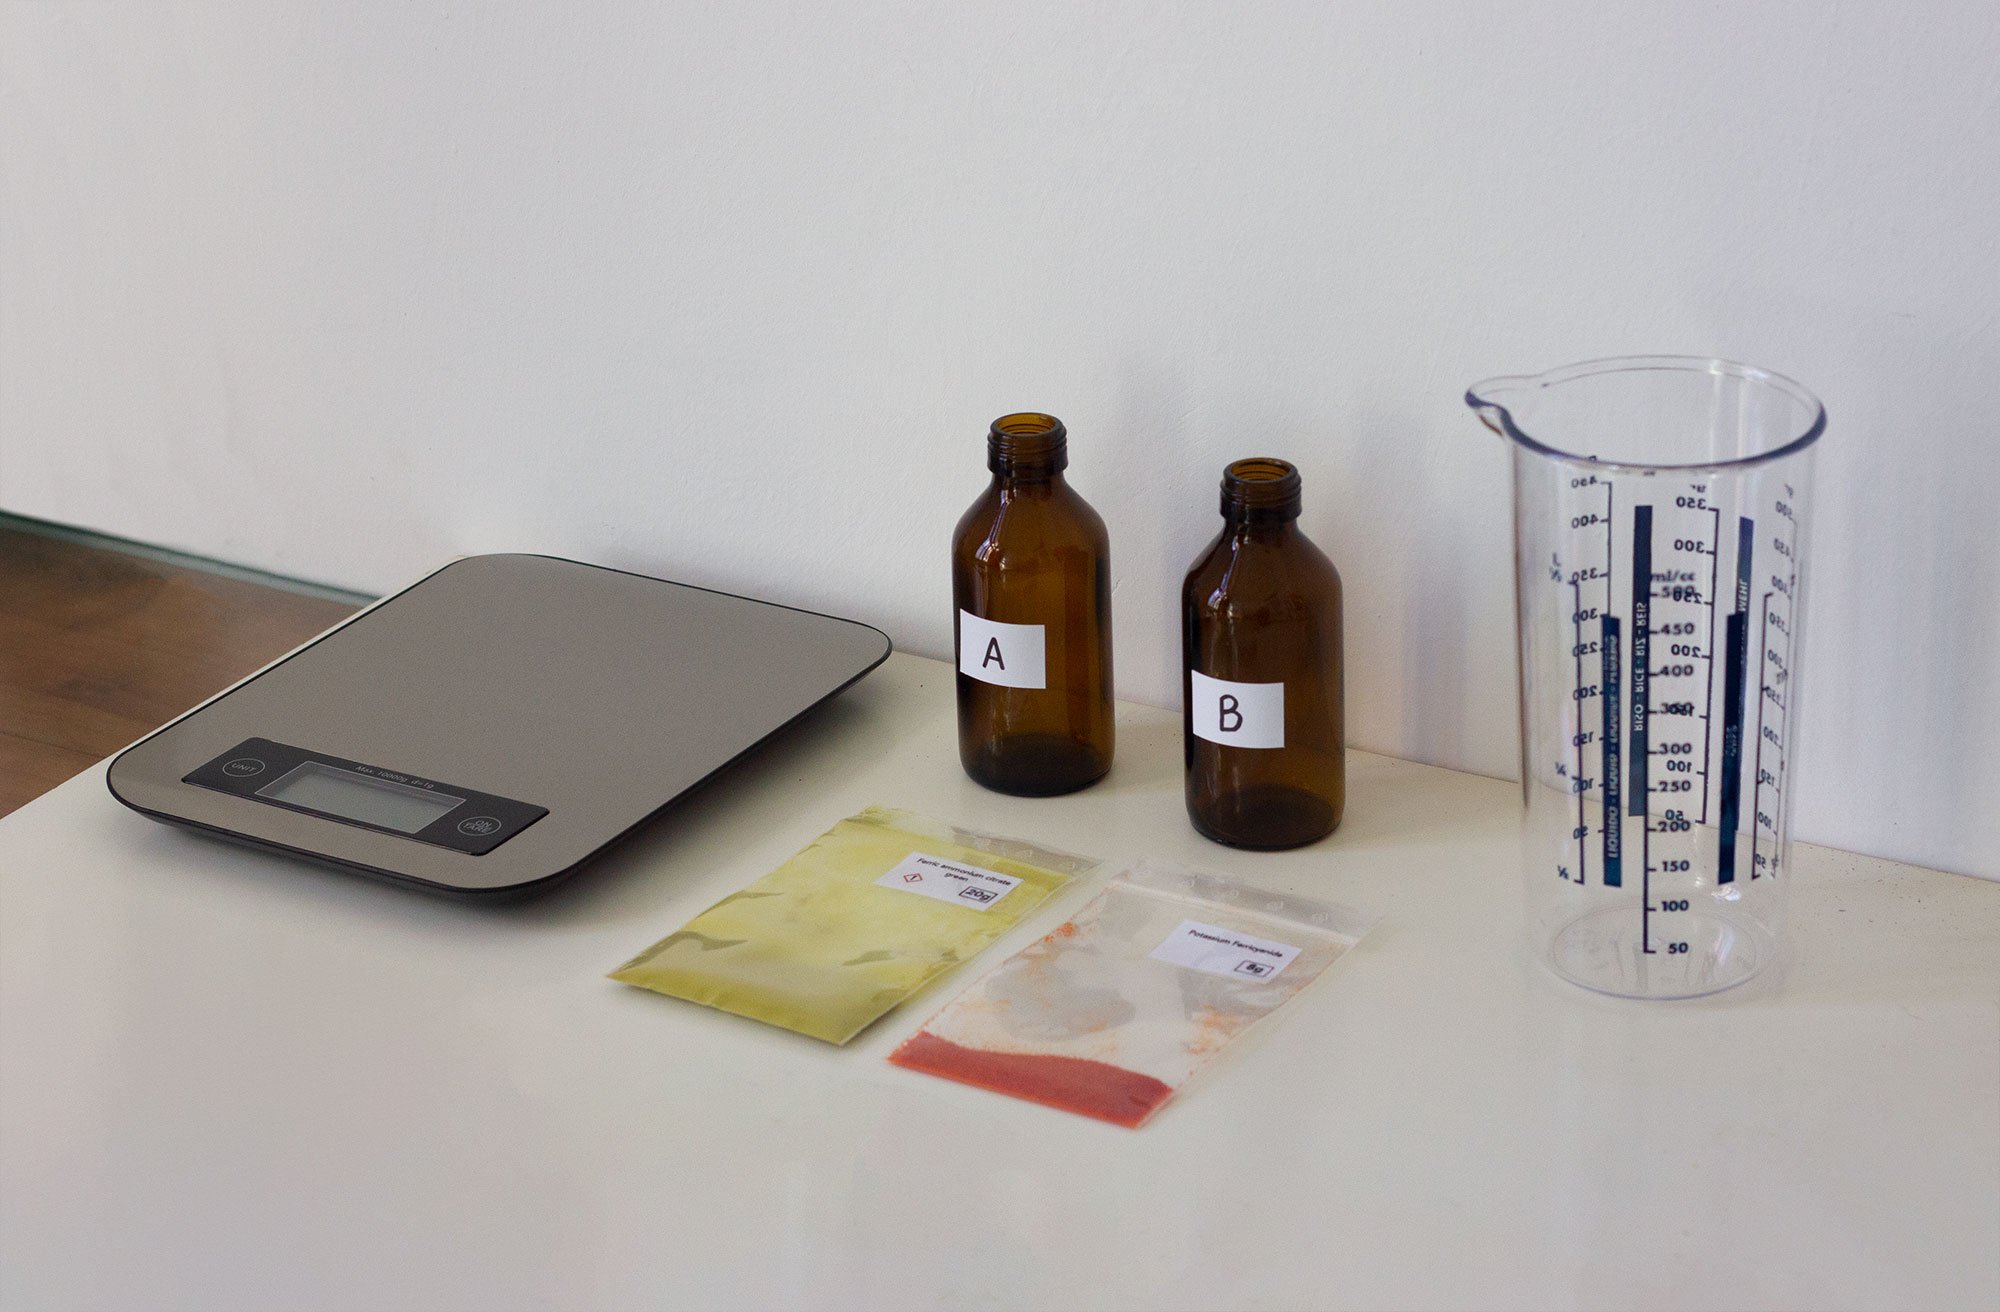
Needed to make about 50 A4 prints:
- 20 g green Ferric Ammonium Citrate
- 8 g of Potassium Ferricyanide red
- 200 ml of water (preferably distilled)
- Scales
- Graduated cylinder
- Paper (must be acid-free and sufficiently thick)
- Two bottles or containers of 100 ml and one of 200 ml (preferably amber glass)
- A basin
- Brush or sponge with no metal parts
- Glass plate at least as large as the sheet to be used
Warnings
Cyanotype is a safe and viable method of photographic printing at home. Ferric Ammonium Citrate and Potassium Ferricyanide are not health hazards. However, you should use some common sense and take simple safety measures to avoid ingesting or inhaling the substances. You should cover the work surface, do not use utensils or containers that are also used for food, do not store the solutions together with food or drinks, and always wear gloves and a mask when preparing and using the solutions.
Potassium Ferricyanide becomes dangerous if it reaches temperatures above 300°F or if it is mixed with a strong acid. Therefore, it is important to avoid both circumstances, which do not take place in the cyanotype process anyway.
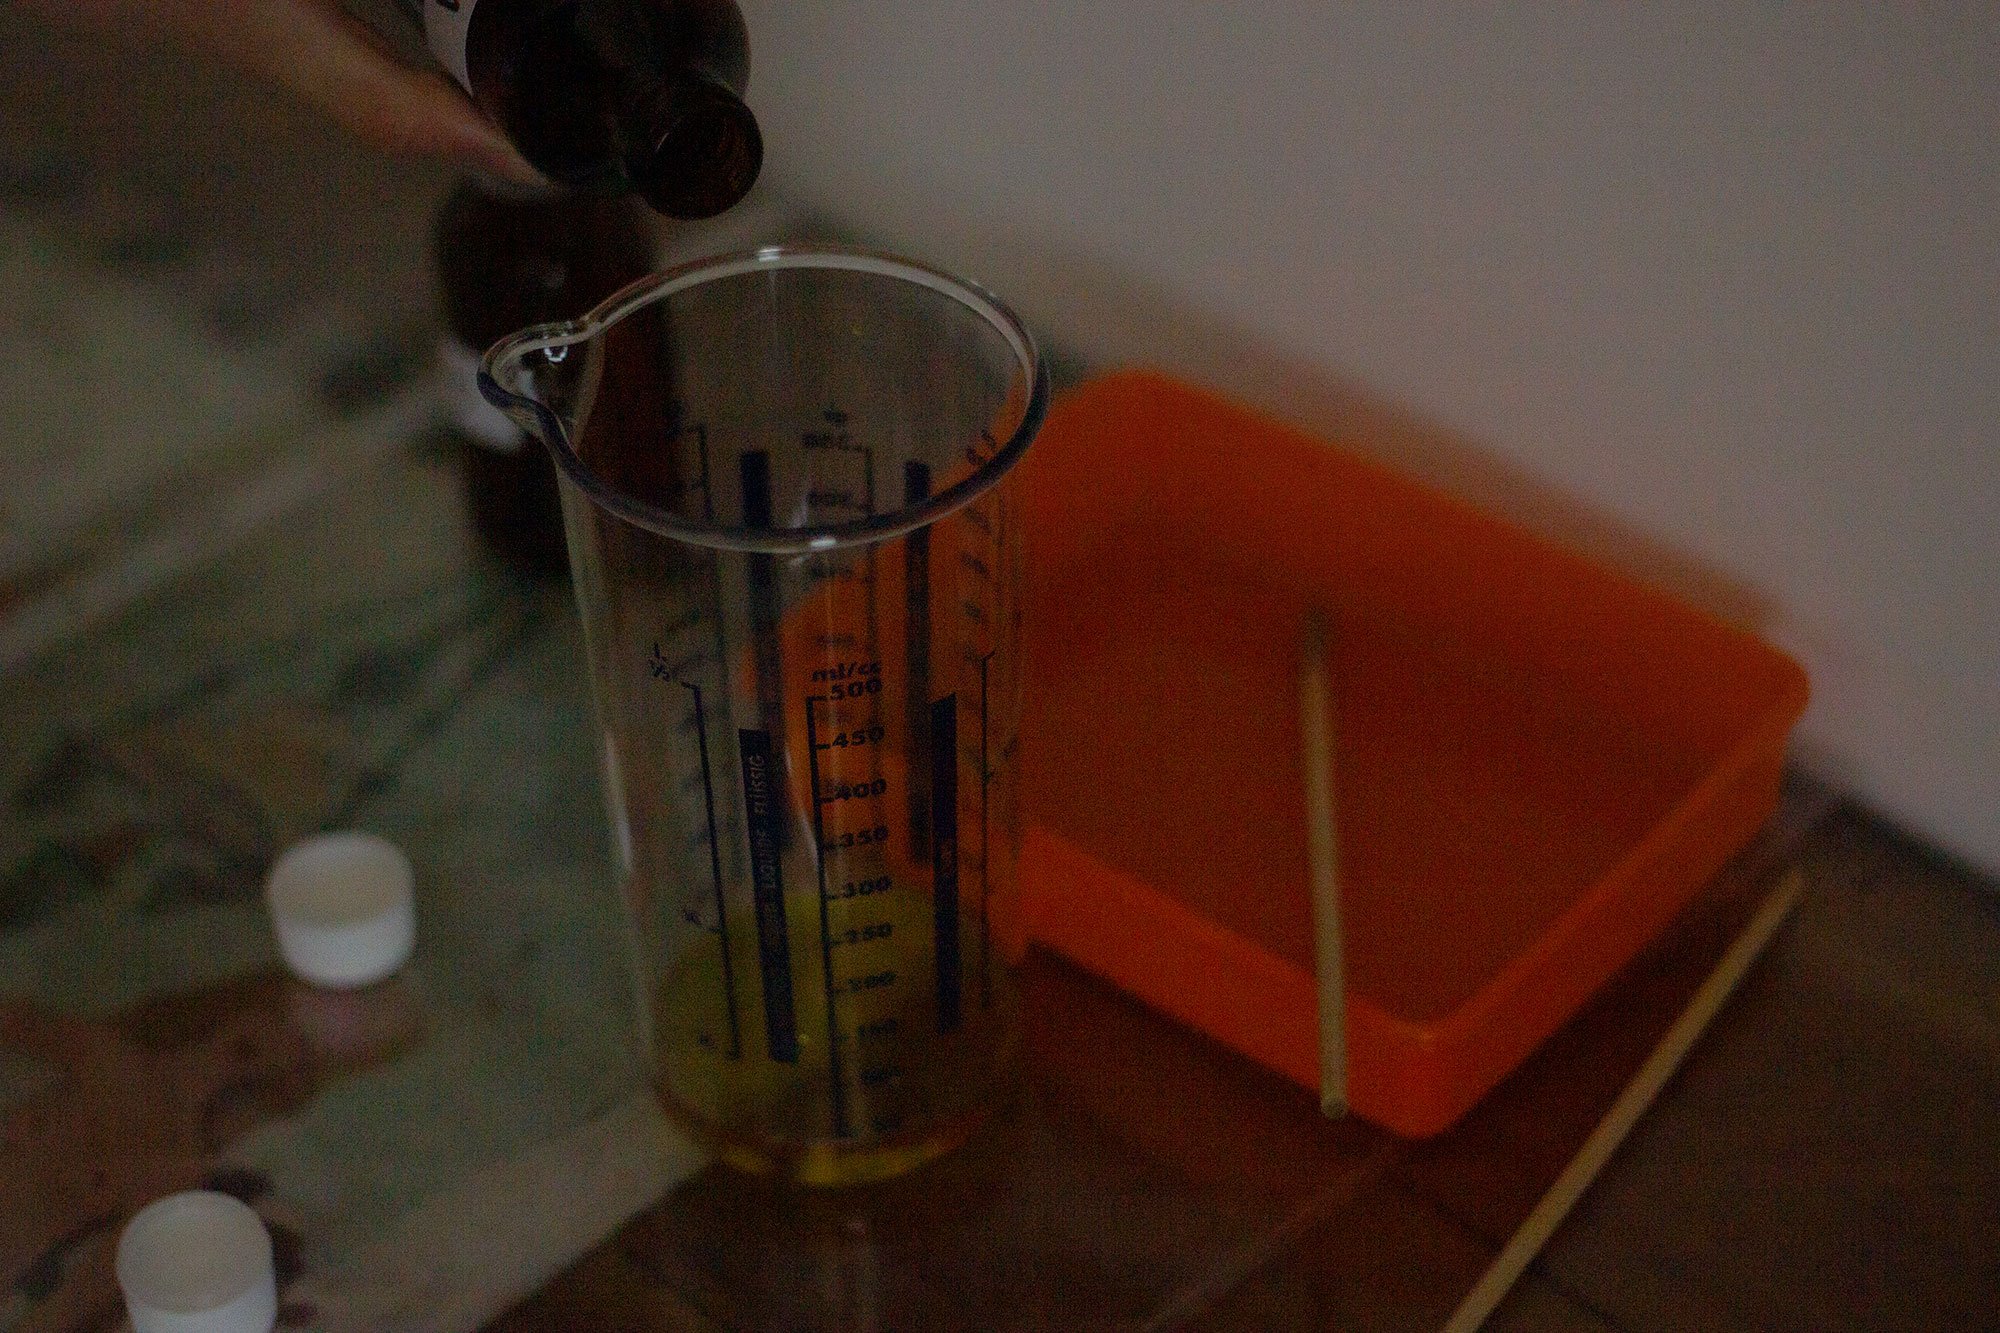
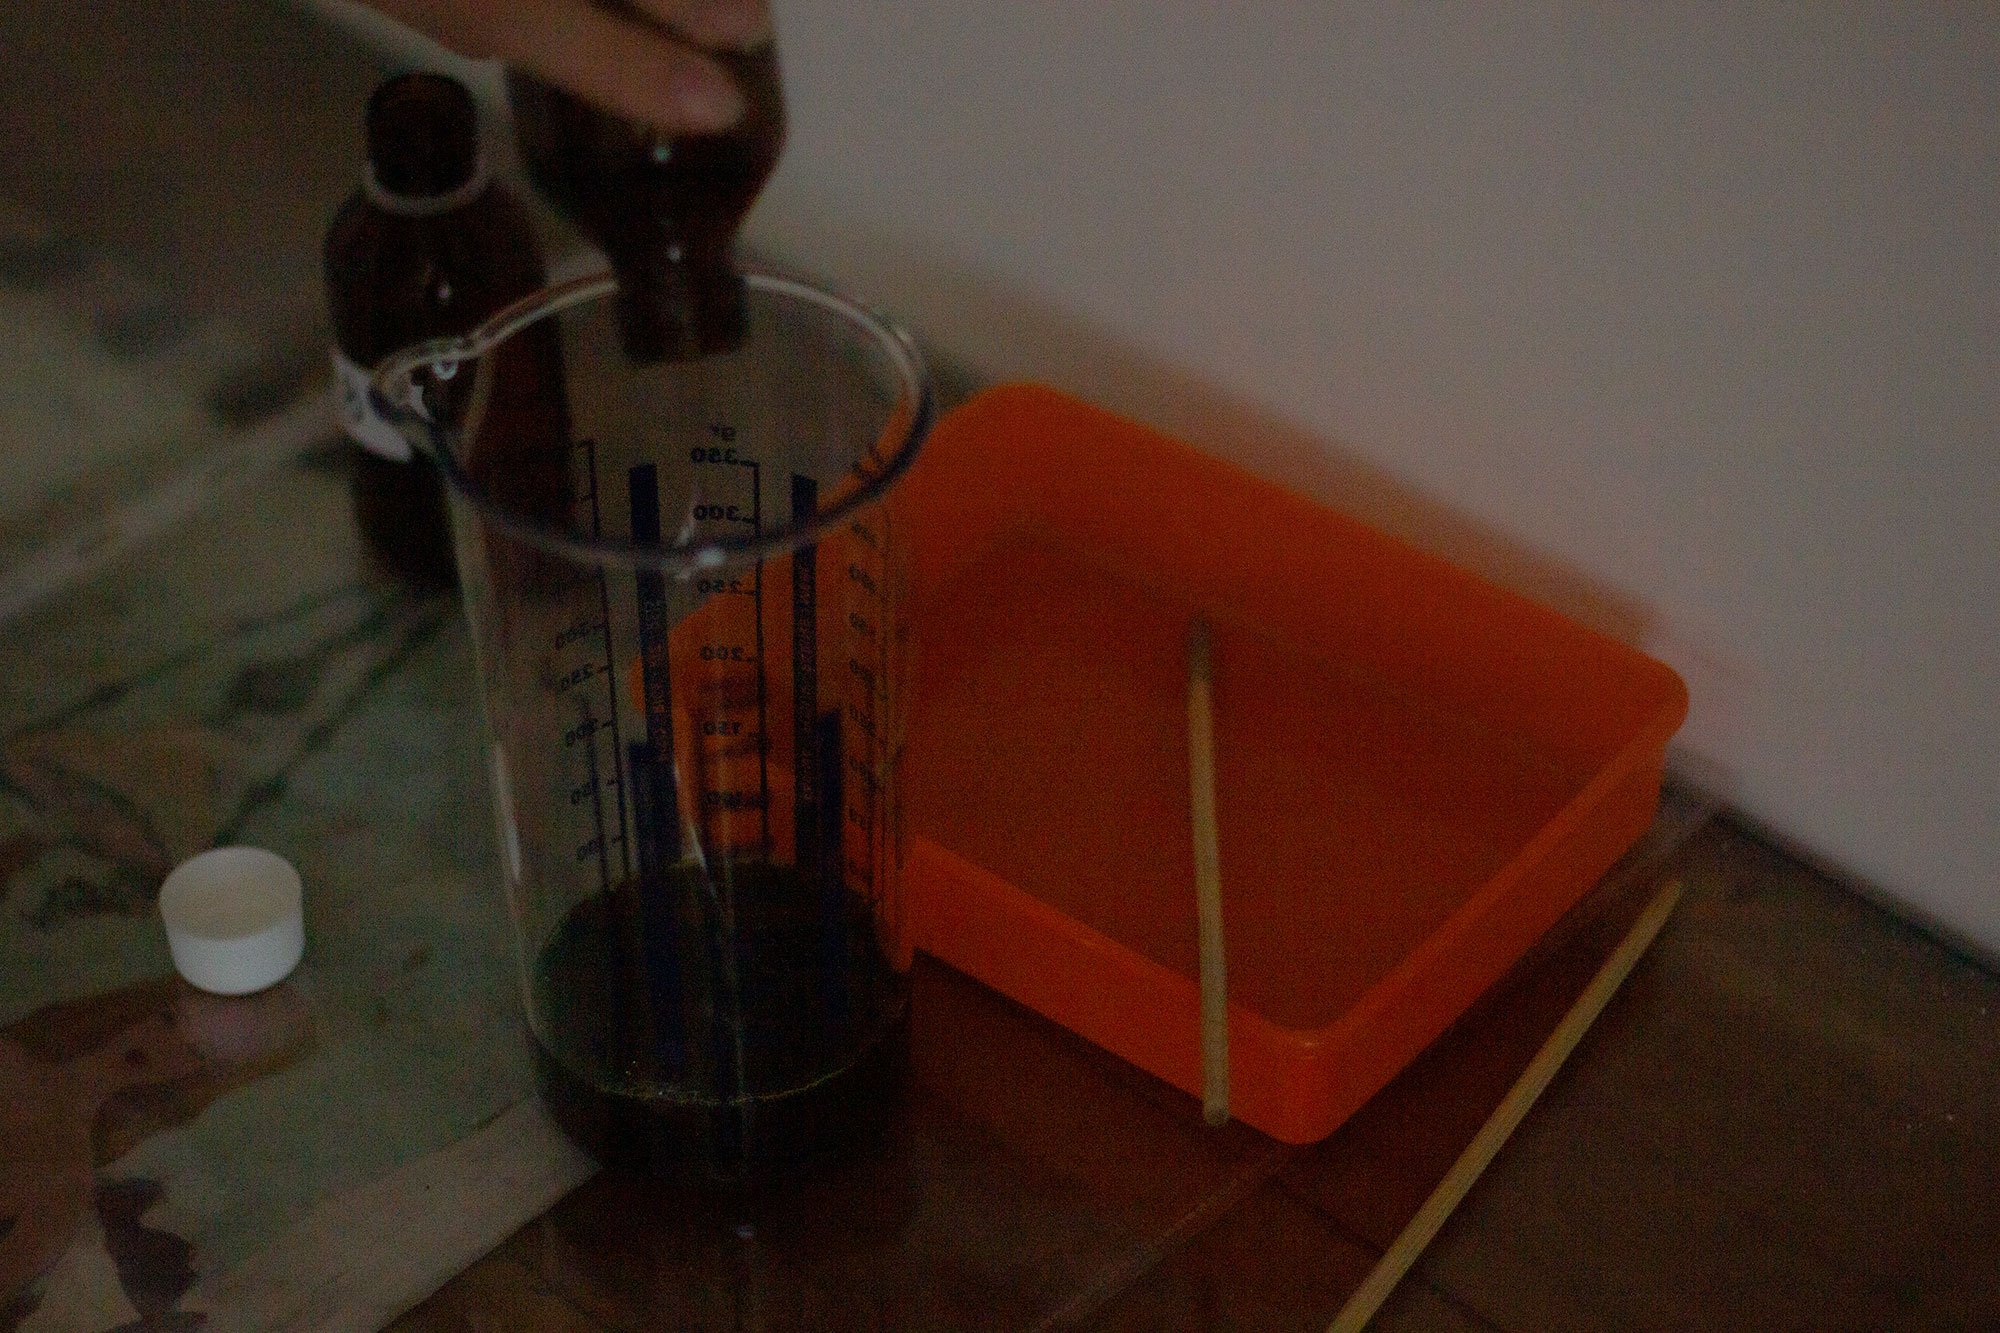
1.Preparation of solutions
First place yourself in a ventilated room of the house, where you do not filter too much sunlight, and prepare your work surface, covering it with newspaper or plastic to prevent the solutions from staining the surfaces. Then dilute the Ferric Ammonium Citrate in one container with 100 ml of water (Solution A), and in another container the Potassium Ferricyanide with the same amount of water (Solution B). Therefore, leave the two solutions in a dark, dry place for at least 24 hours. In this state the solutions can be stored for up to 6 months, but ideally best used within a few weeks.
2.Preparing the emulsion
To prepare the emulsion, mix the two solutions in equal parts in a dark container. This should be done in a room where it does not filter sunlight, but you do not need to be in total darkness, you can keep a 25-watt bulb on at a distance: in fact, the emulsion is sensitive only to ultraviolet rays.
Once mixed, the solutions should be consumed as quickly as possible, lest the color intensity and sensitivity diminish. Therefore, it is ideal to prepare the amount of emulsion you intend to use. As a reference, keep in mind the fact that 200 ml of emulsion (100+100) covers about 50 A4.
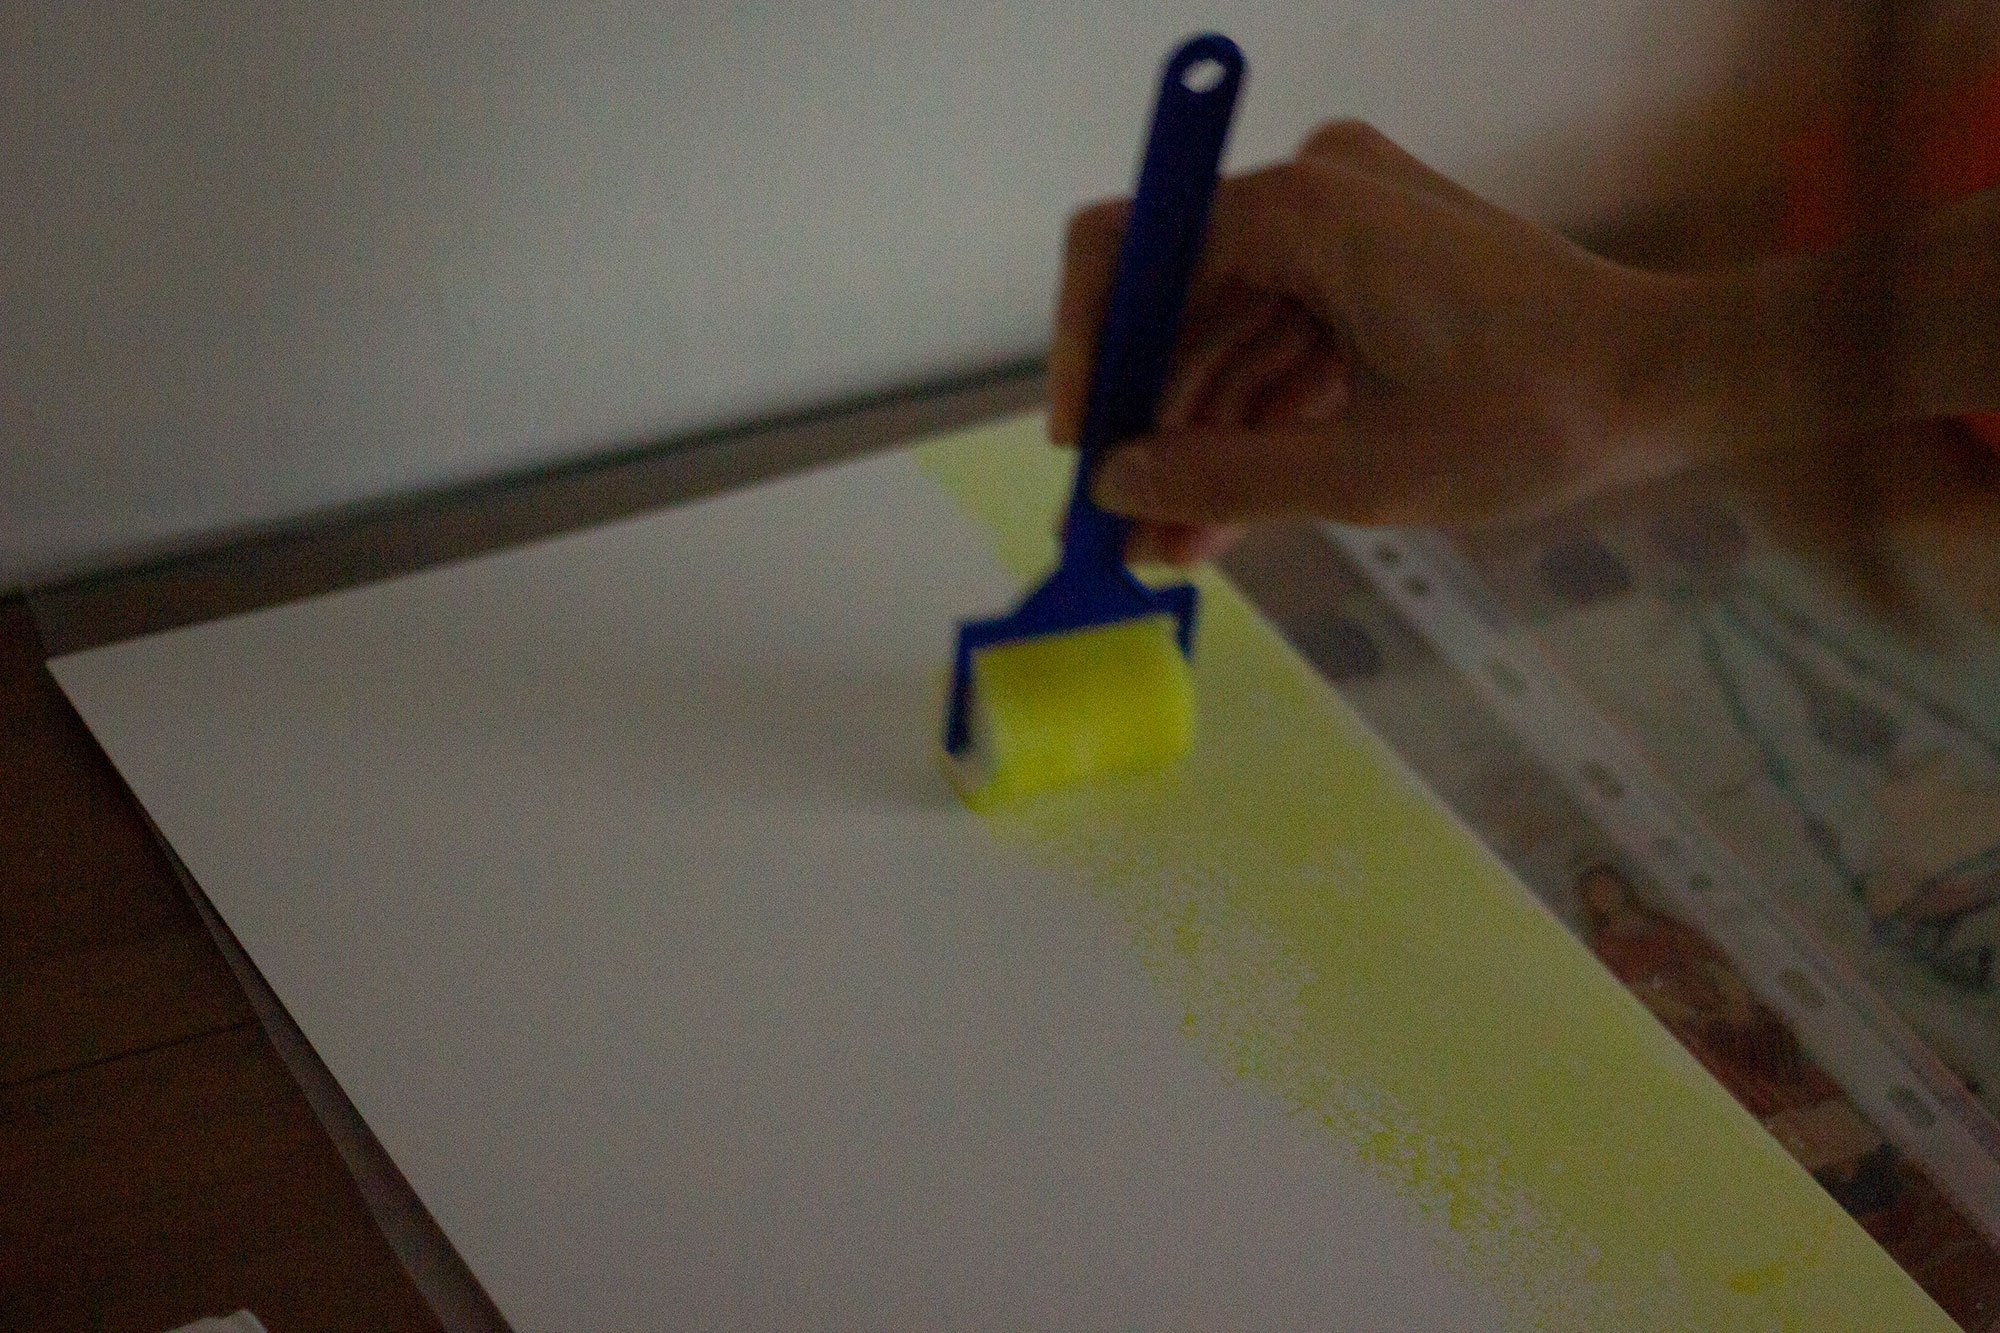
3.Paper coating
Continuing to work in a room without sunlight, pour the prepared emulsion into a small tray and with a brush or sponge spread it over the surface of the paper. The goal is to coat the paper as evenly as possible so that no streaks or stains are left behind.
The ideal paper for cyanotype is thick and strong (it will have to withstand a water bath), like watercolor paper, but different types can be tested to see the difference in the result.
Once covered with emulsion, the papers will take about 30 minutes to dry.
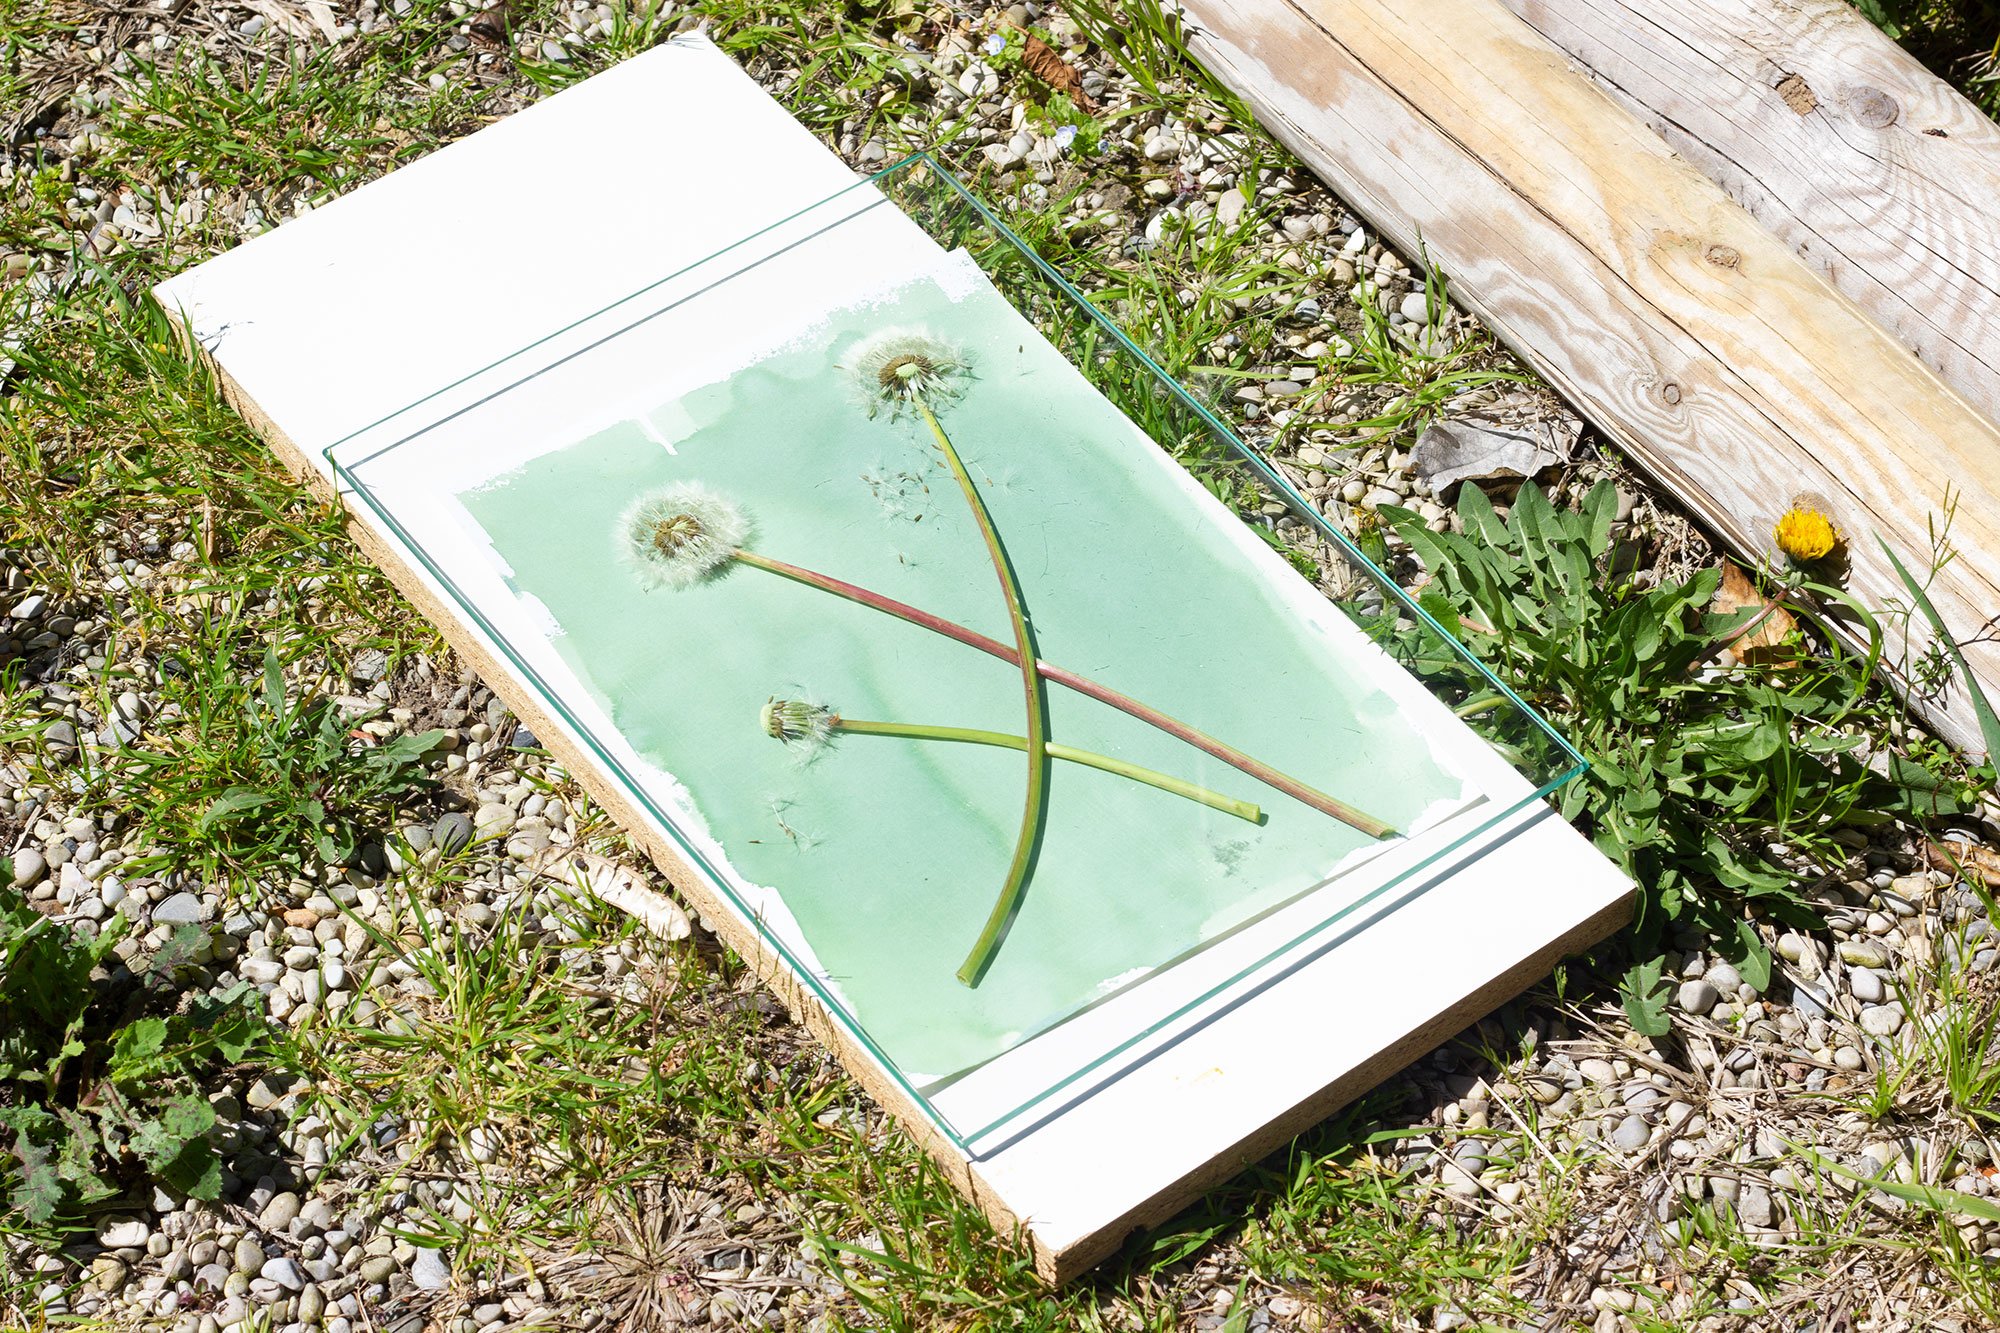
4.Exposure
Once the sheets are dry, the actual printing process begins.
Place the emulsified sheet under direct sunlight and immediately place the objects you intend to ‘photograph’ on its surface, covering it with a sheet of glass.
Exposure is the most critical step in the process, as sunlight is variable and unpredictable, and the season, time of day, and location relative to the sun affect the duration of exposure, which can vary from 3-4 minutes, up to 15-20, depending also on the type of paper. The best option, therefore, is to do a preliminary test, exposing an image and making sure to cover an increasing portion of it every 2 minutes.
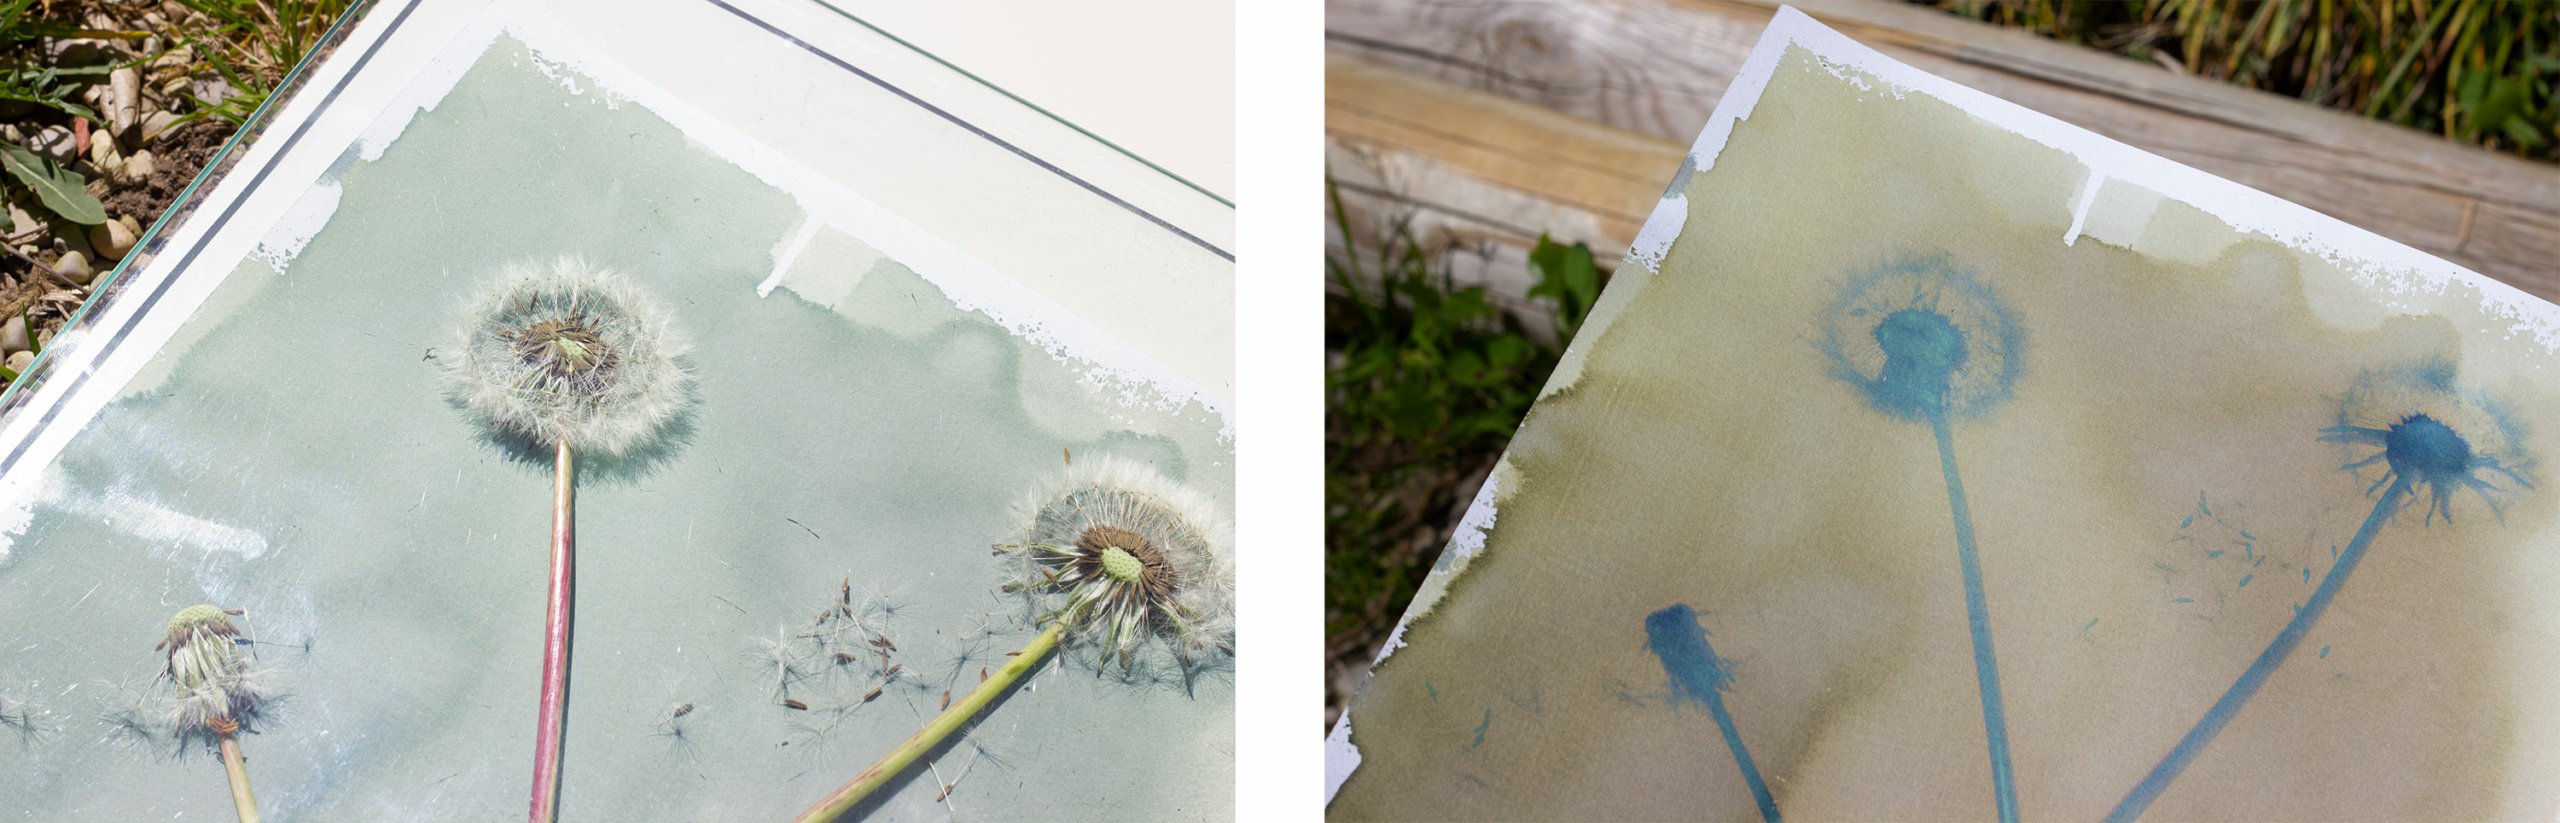
Under the sun, the color of the print will immediately begin to darken, but you have to wait until it begins to turn to a dull brown for the print to be ready.
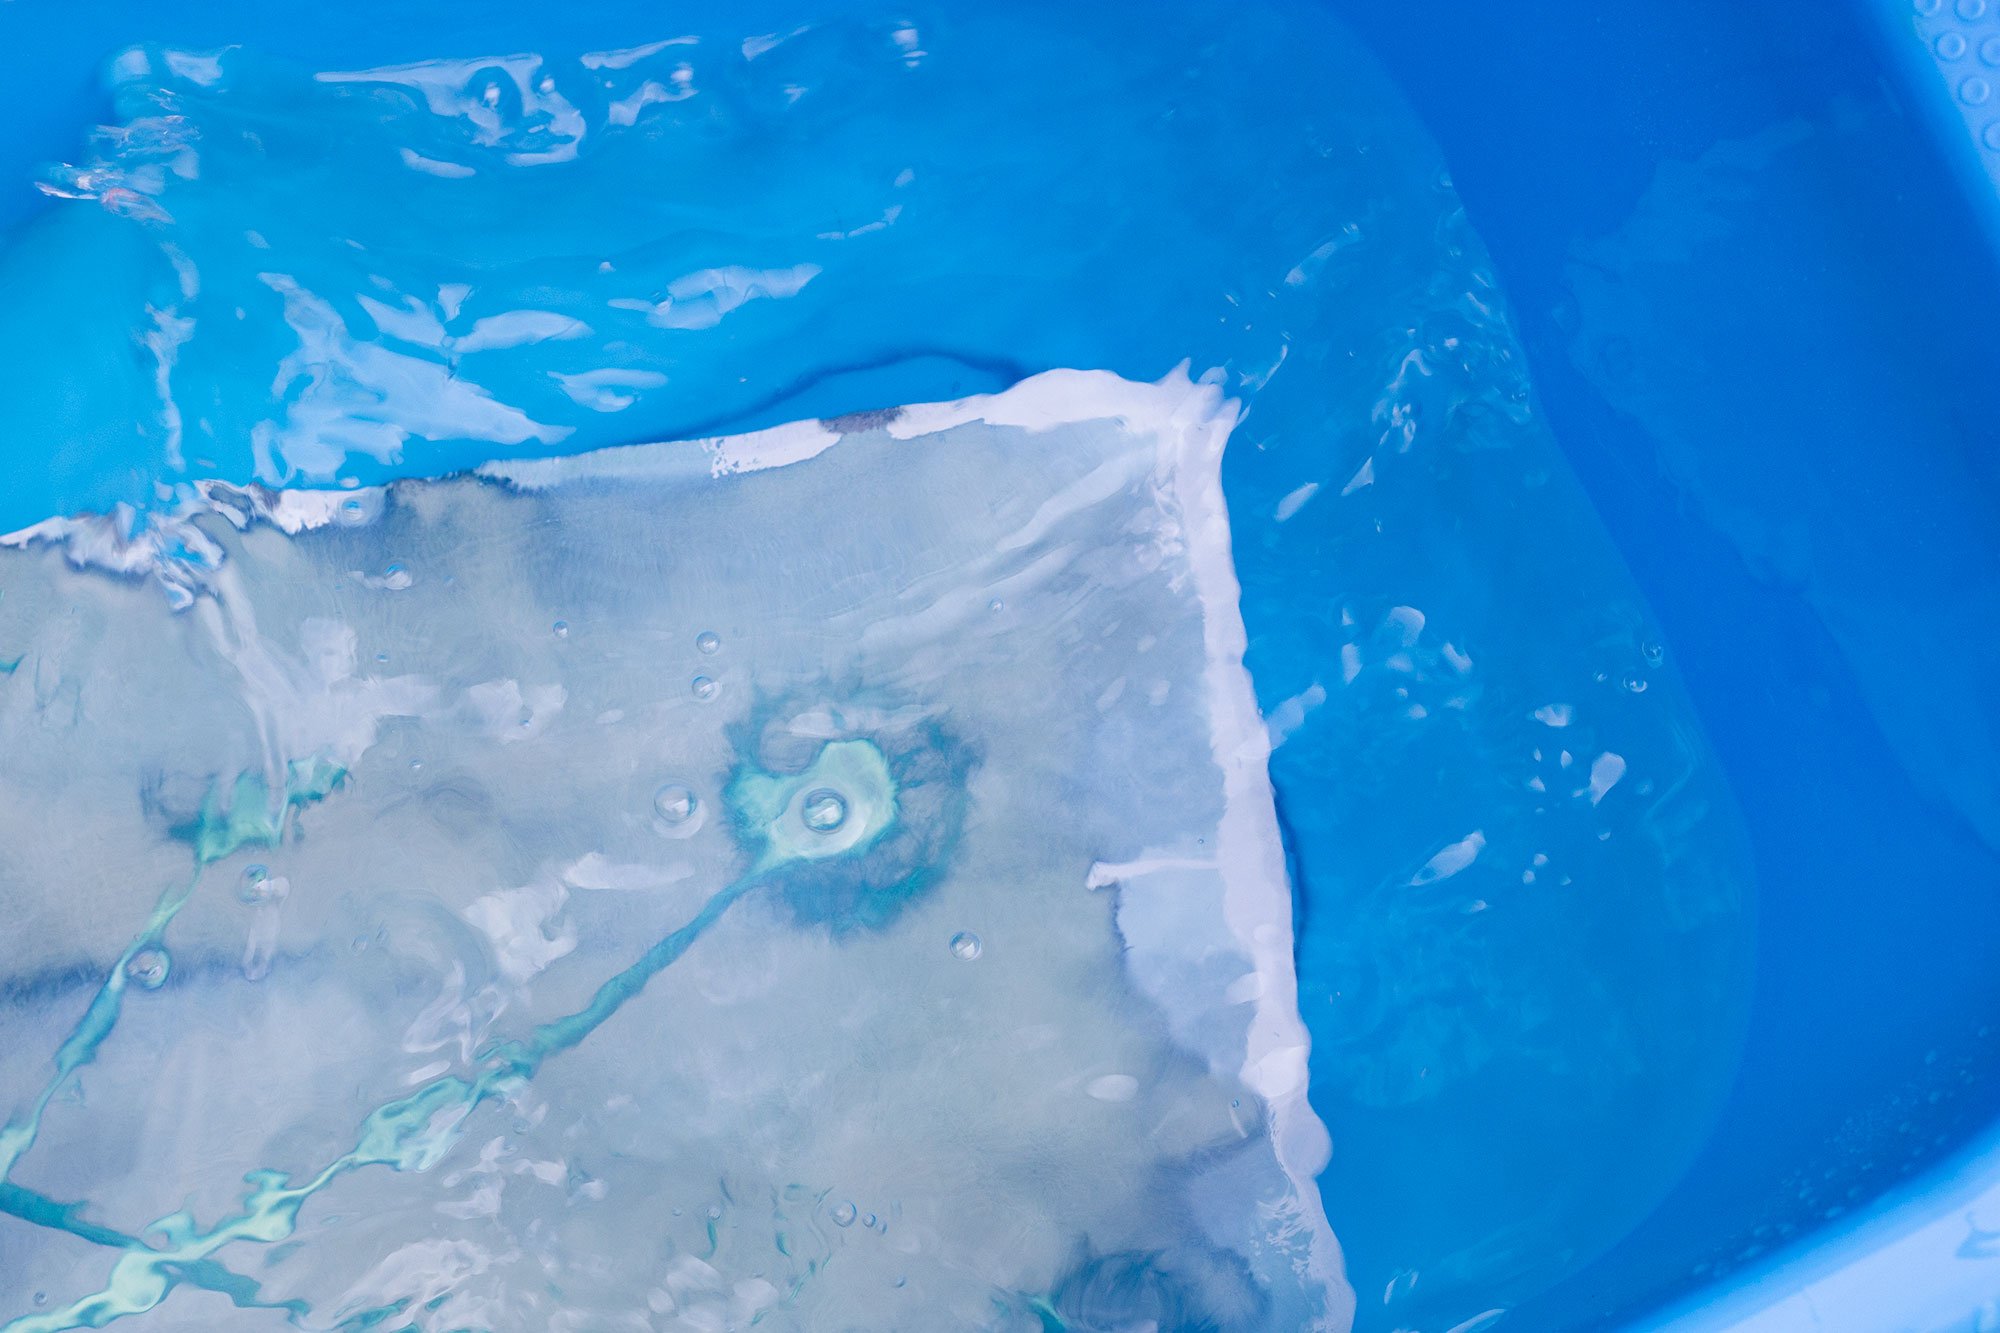
5.Developing and drying
When the exposure time is over, place the print in a basin under a stream of running water and rinse and shake the sheet until the yellow patina comes off, leaving a beautiful deep blue tint. Then lay the print out to dry in the shade for about an hour.
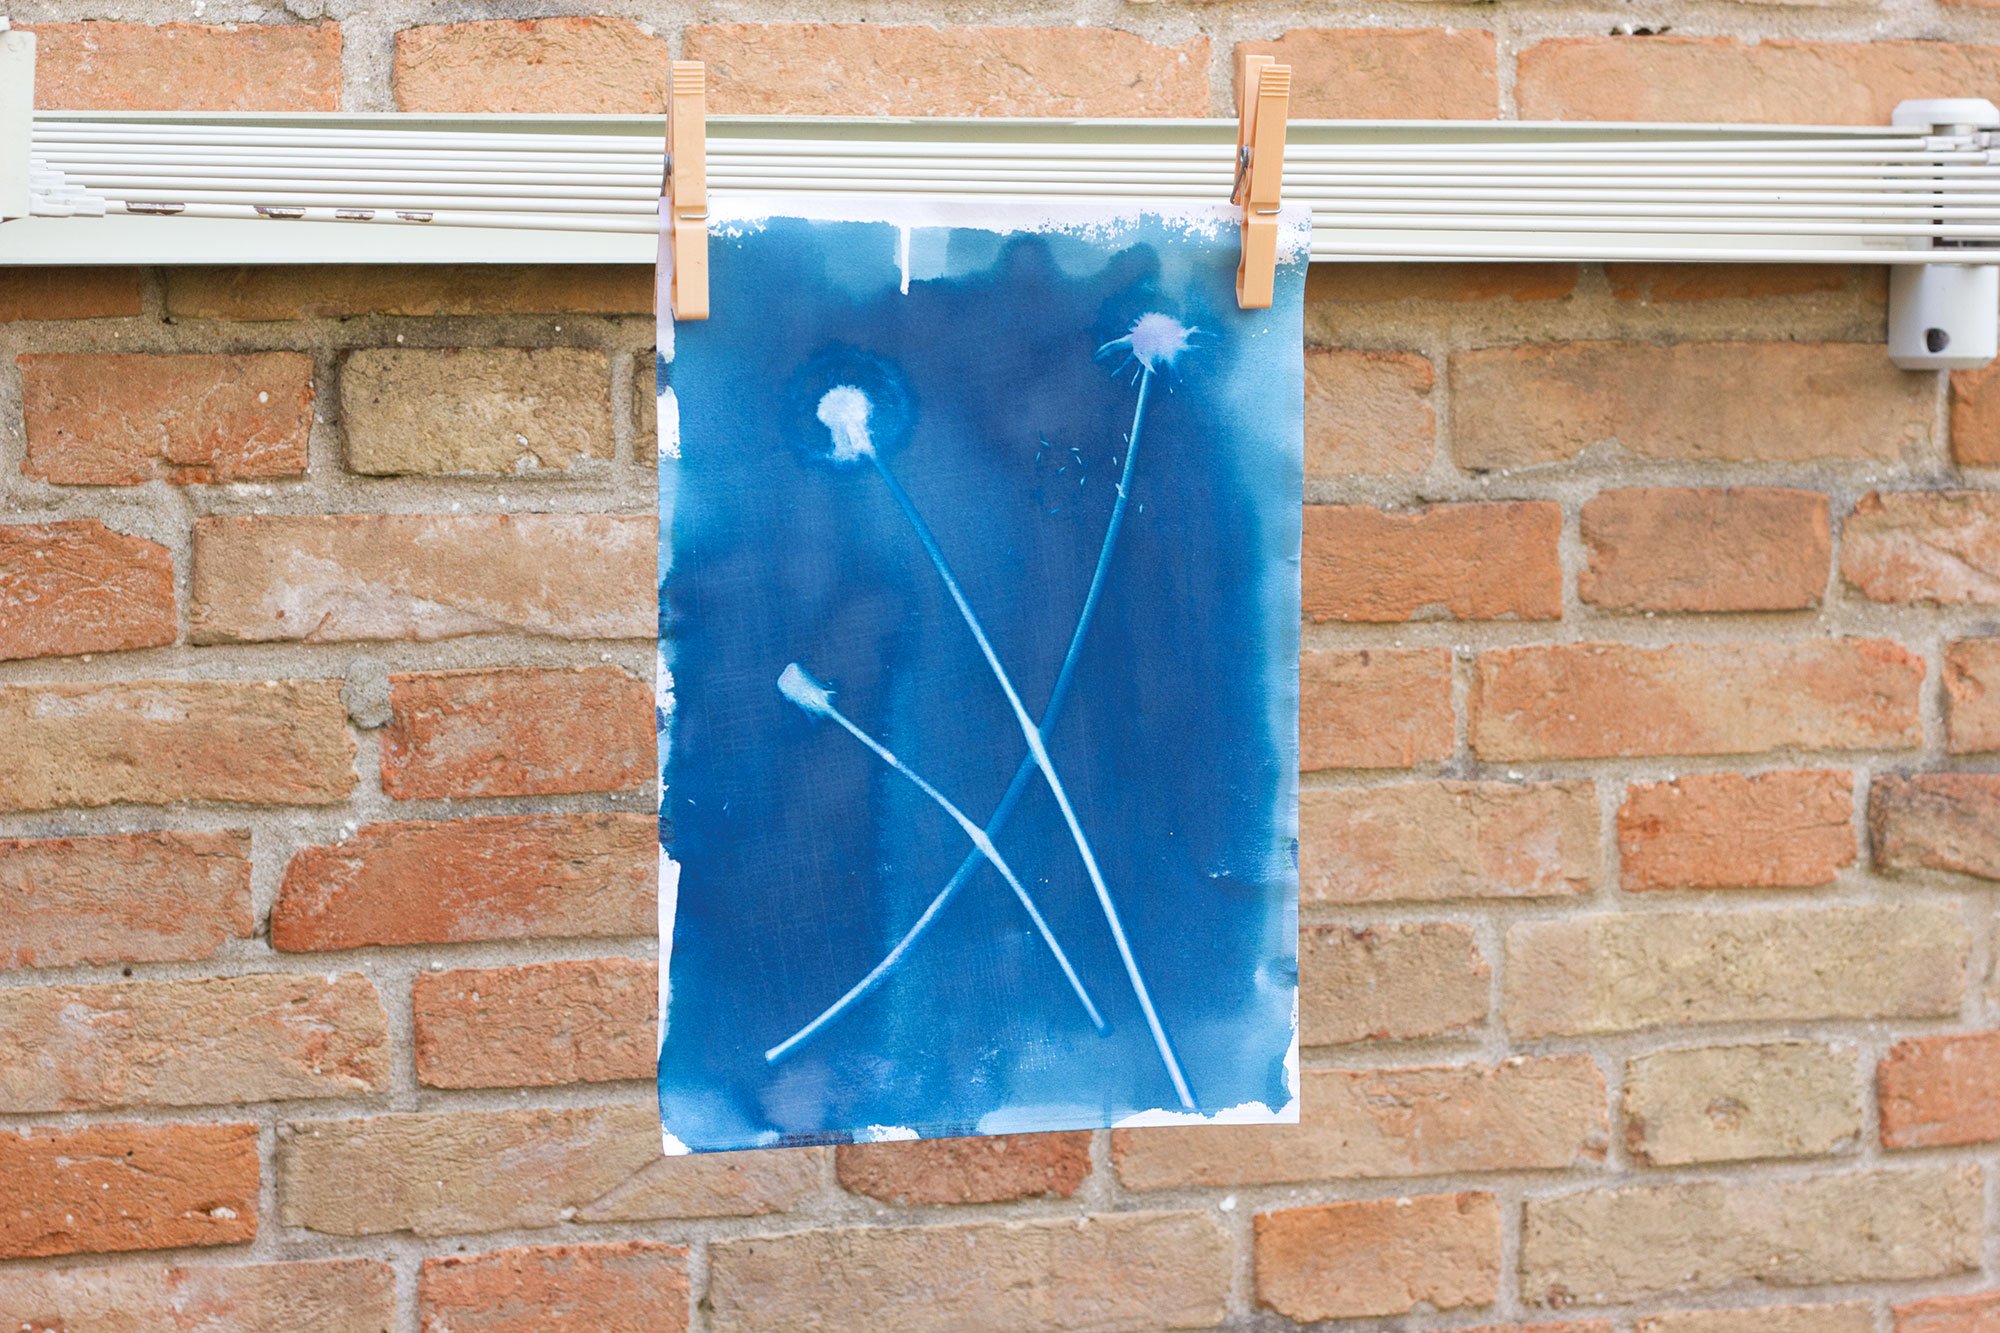
Once dry, the image is fixed on the cyanotype. It is best to store the prints away from direct sunlight, but if they ever fade, just leave them a few days in the dark for them to regain their original hue.
6.Disposal.
Residues of the chemicals used can be disposed of in the household drains in small doses along with plenty of water so that they do not remain concentrated. Do not dispose of the substances in the trash.
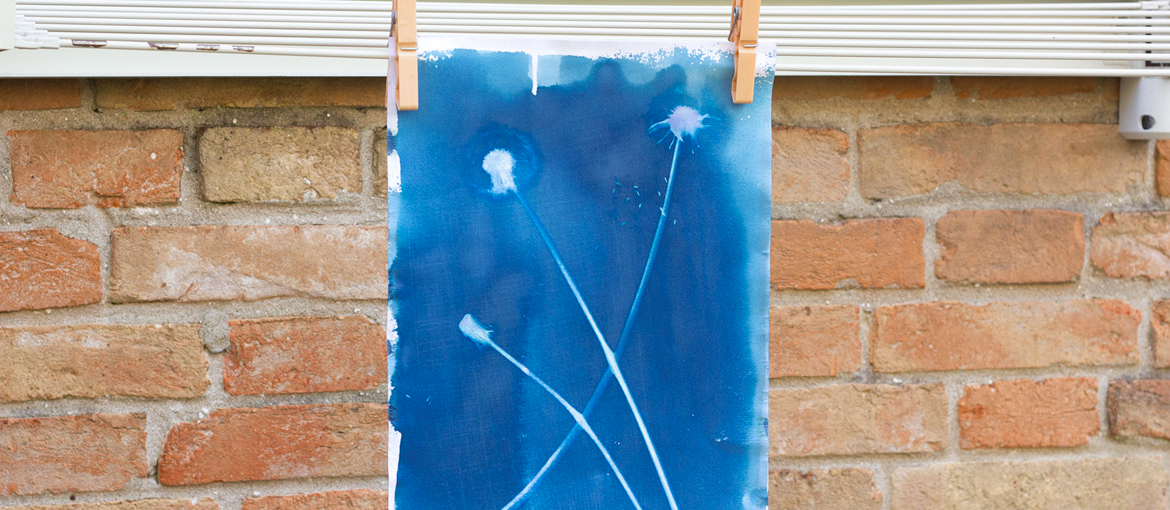
Cyanotypes lend themselves to being used to print a wide variety of objects. Plants and flowers are among the most common and most effective choices because they have areas with different opacity that will imprint slightly different colors, but also feathers, glass and plastic objects, textiles and embroidery… It is worth experimenting with as many objects as possible to see the printed effect. Experimentation can also be extended to the type of medium to be used: not only paper, but also fabric lends itself to the process.
The distinct blue tint of cyanotypes and the delicacy of the outlines give unique qualities to these prints, but part of the beauty of cyanotyping lies precisely in its process and experimentation.