
Business and consumer attention to environmental sustainability is growing. And this attention is also growing toward the world of paper and printing. That’s why we thought a little insight into the recycling process might be of interest to all those who are developing an awareness of the issue and opting for an environmentally sustainable choice.
Here we tell you how paper is recycled, and we also explain, for those who feel like getting their hands on it, how to make recycled paper at home. It is a process that can be useful to replicate for small jobs or really special occasions, when you have time to devote to it and want to get your hands a little dirty. But do you want to put the satisfaction of writing on a paper you create?
How is paper recycled?
When we consider that almost all cellulose fiber can be recovered and turned into new paper, we realize how valuable the starting gear of this process is-without careful recycling collection, in fact, the big recycling machine won’t turn on. Here we see it in motion to better understand how it works.
The paper recycling process involves several steps, the main ones being:
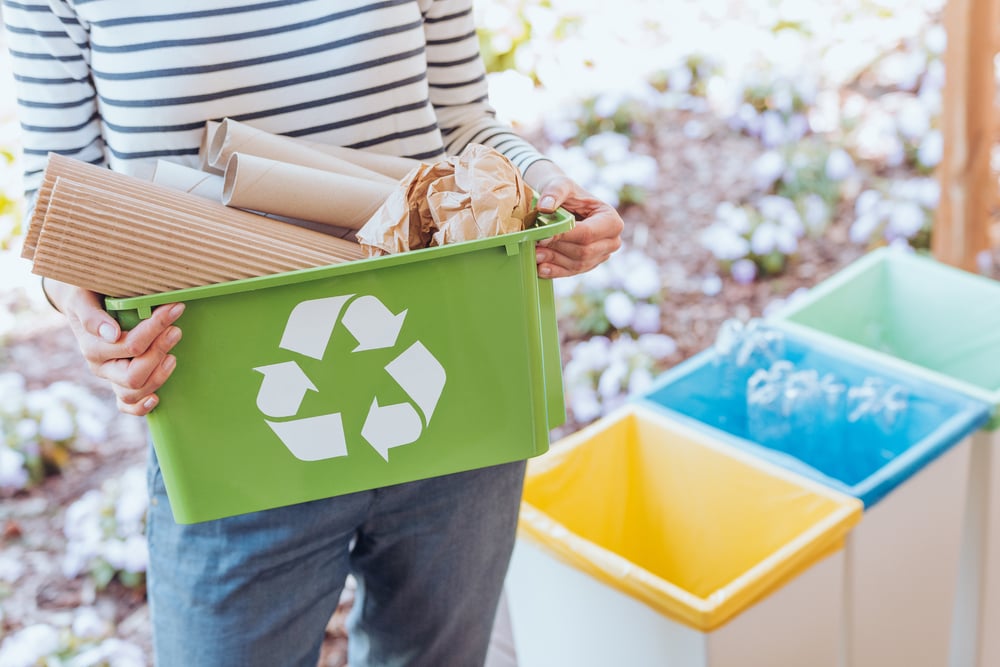
- Separate collection. It all starts here, with conscious waste sorting. What types of paper can be recycled? Newspapers, magazines, printer sheets, notebooks, journals, notebooks, flyers, old envelopes, brown bags, handkerchiefs and napkins (only if clean), cardboard, cardboard… Anything as long as it has not been treated with paint, plastic insulation, or come in contact with oily substances.
- Waste sorting. First check: the collected material is examined and recyclable fiber is separated from all items that are not.
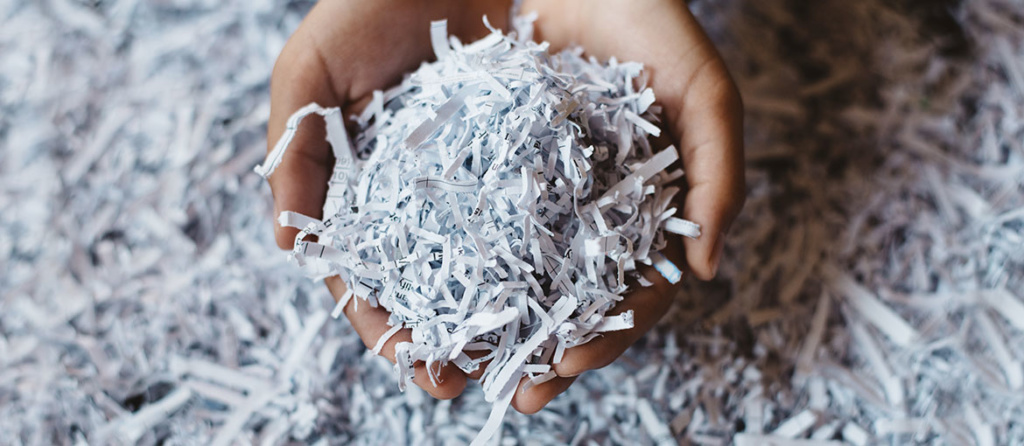
- Pressing and shredding. Paper that has passed the first sorting check is pressed and shredded into small pieces.
- Bleaching. Through the action of chemical agents, ink residues are removed.
- The bleached paper is softened in hot water to make a compound for processing.
- Second check: any unwanted residues are again removed from this compound.
- The points of contact between the pulp fibers are tightened to give the paper more strength and elasticity.
- The resulting paper passes through a “paper machine” that processes the pulp and makes sheets with different thicknesses and sizes.
And from a pile of used paper, new sheets are made ready for…
What can be made from recycled paper?
Eco-friendly business cards, postcards and invitations, flyers, folders, posters, tags. We print many different products on recycled paper in our workshops. When we consider that among them there are some, such as flyers and invitations, that end up very quickly in the (paper!) trash, we realize how important it is to try to limit waste. Our customers who choose to print on recycled paper do so because they espouse a green philosophy, and from a corporate communications perspective, this choice allows them to transfer the company’s values and be a spokesperson for a sustainable message.
Over time, the production process has been perfected to such an extent that today a recycled paper is almost indistinguishable – aesthetically and performance-wise – from one that is not. This is another reason why we can use it for so many different projects. Start paying attention to how many products are marked with the recycled paper symbol-some you would never have guessed, we bet you will be surprised!
RECYCLED PAPER SYMBOL
Now let’s move from big production to home production.
How to make recycled paper at home
Don’t be intimidated by the number of steps you see below, because the process for making DIY paper is simple and requires no professional tools. We bet you already have everything you need at home:
- Paper to recycle.
- Pyrex dish or basin.
- Fine mesh netting or a piece of mosquito netting.
Here are the steps to make it:
- Gather all the used paper you can find around the house–consider that the color of the sheets you get will depend on the color of the starting paper.
- Cut it into small pieces. The smaller they are, the more precise the result will be.
- Place the pieces in a pot with boiling water and let them soak for a few hours, stirring occasionally.
- After soaking, place the mixture in a blender, add a little water and blend until you get a mush with a soft consistency.
- Create a frame to strain the paper and remove the water. How. Take a flat, tightly woven screen or a piece of mosquito netting, and create a frame on the edges with wooden rods-the size of the frame will correspond to the size of the resulting paper.
- Place the paper mixture in a wide-bottomed container – such as a baking pan or basin. Dip the loom into the container by laying it on the bottom so that it is completely covered. Then lift it up. In this way, you will have a thin layer of wet paper on the frame. Let the water drain off.
- Turn the paper layer upside down on a pillowcase, lay another pillowcase on top of it tightly and press it down with a sponge to absorb the water. Remove the pillowcase and let the paper rest until it is dry. This may take several hours.
- Once dry, peel it off the fabric-your paper sheet is ready!
We also add this video tutorial that clarifies some steps and shows you how to embellish the paper with petals and dried flowers.
How did it turn out? The first sheet is never forgotten, although it may not be remembered as the best of your production. 😉