
For all kinds of professional needs there are many printing techniques, increasingly sophisticated, innovative and efficient, from offset printing, to digital printing, to screen printing, to adhesive vinyls…
Sometimes, however, producing prints can simply be a way to experiment, pass the time, and make unique pieces that certainly do not have the precision and predictability of professional printing, but can still have interesting qualities.
Described below are two very different techniques, linocut and solvent transfer, both of which are easily done at home, in a short amount of time, and at a limited cost.
Linoleography
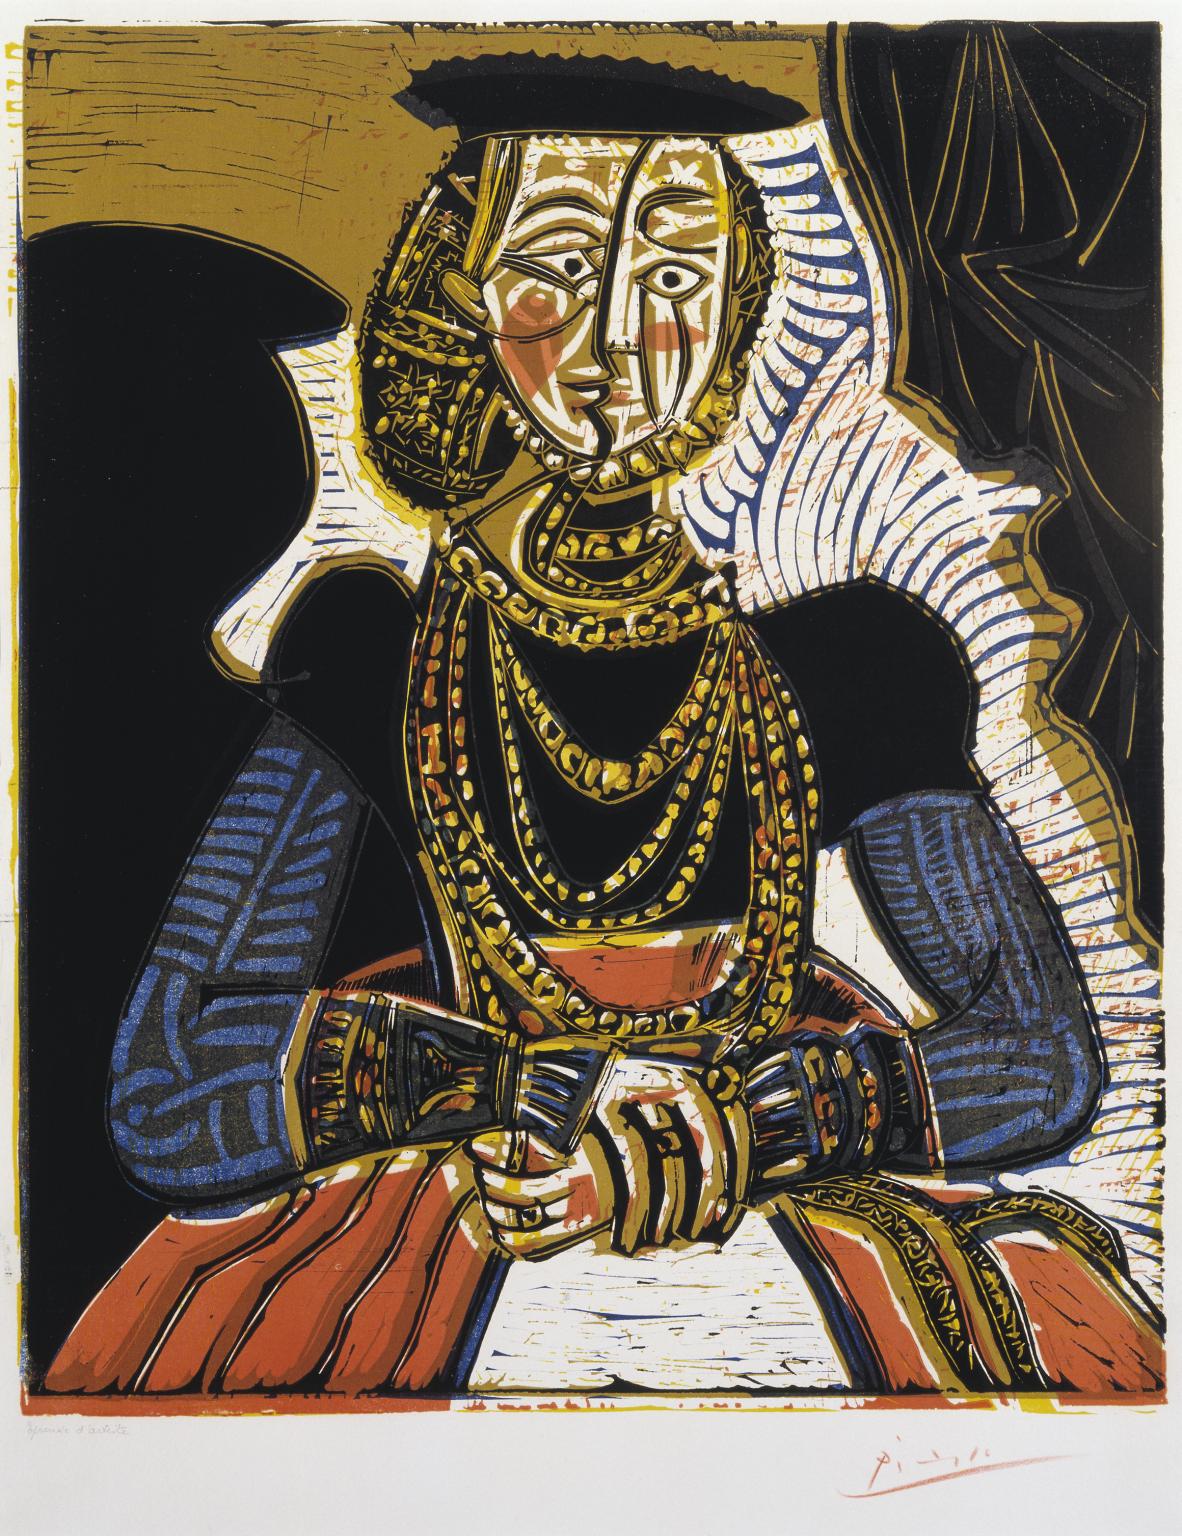
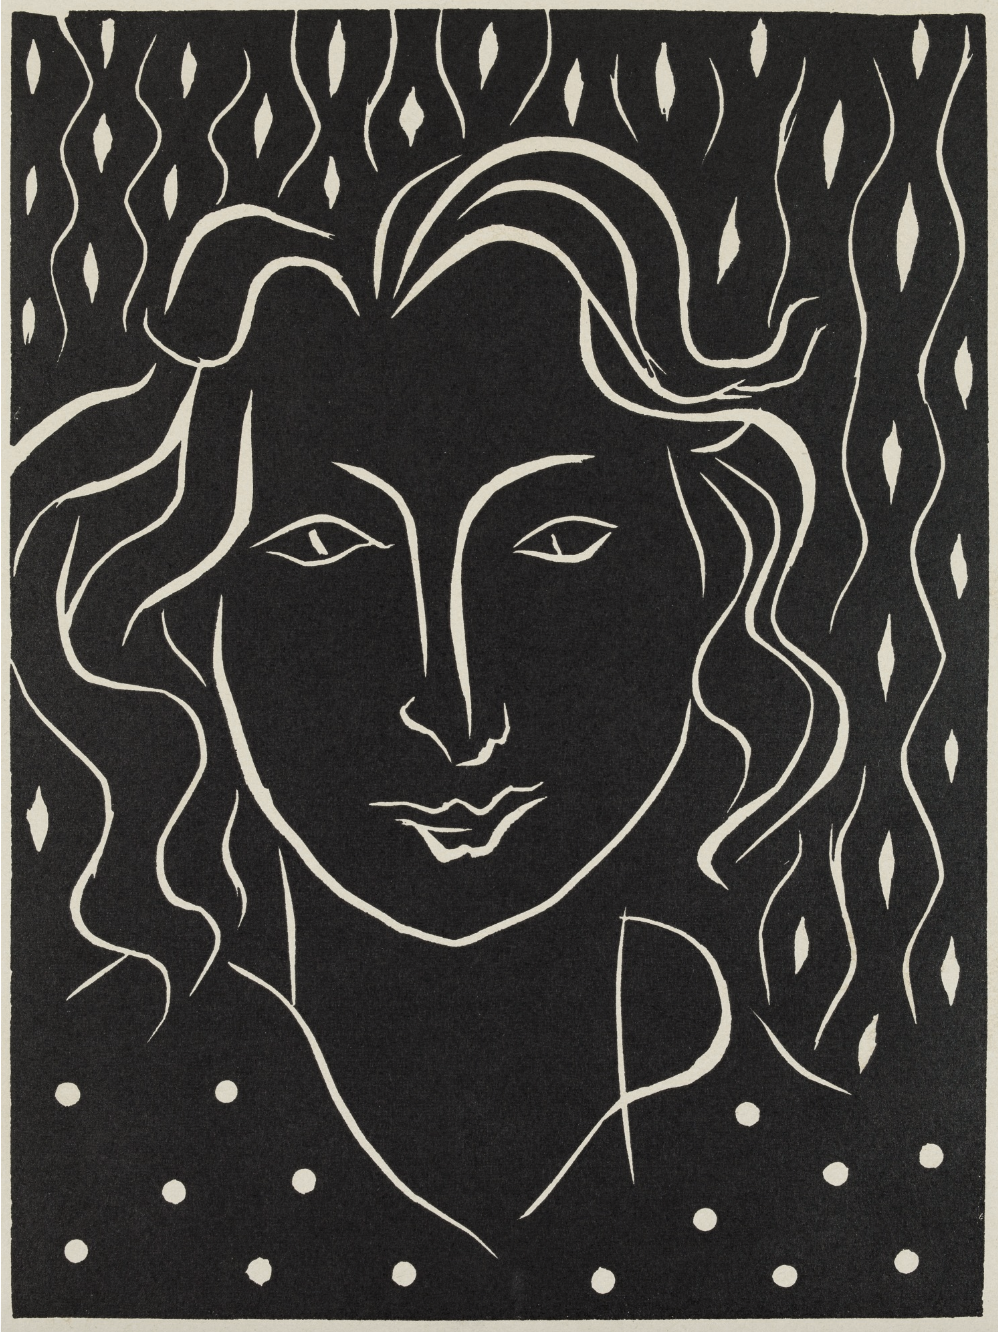
Linoleography is a type of relief printing that, as the name suggests, uses a thin block of linoleum (alternatively also adigraf). The technique follows the same principles as woodcut, but the softness and ease of working with linoleum make it suitable for a wider audience, including students and amateurs.
Materials
- Linoleum slab
- Engraving chisels
- Pencil, carbon paper (optional)
- Print roller
- Kitchen rag or wooden spoon, baking paper (optional)
- Ink for relief printing
- Glass panel
- Paper

The Process of Linoleography
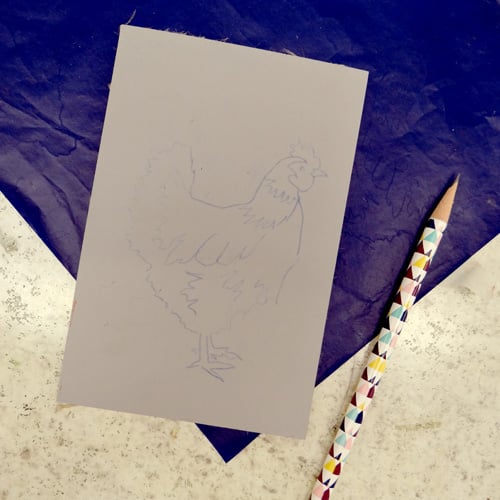
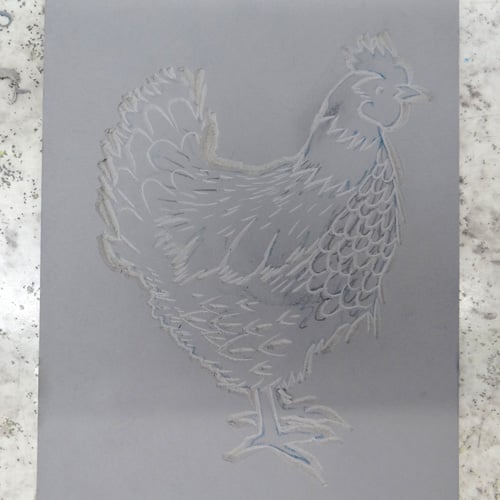
1.Drawing
Draw directly on the plate with a pencil or through a sheet of carbon paper, tracing a drawing made on paper. It is good to keep in mind that at the end of the process the image will be transferred mirrored.
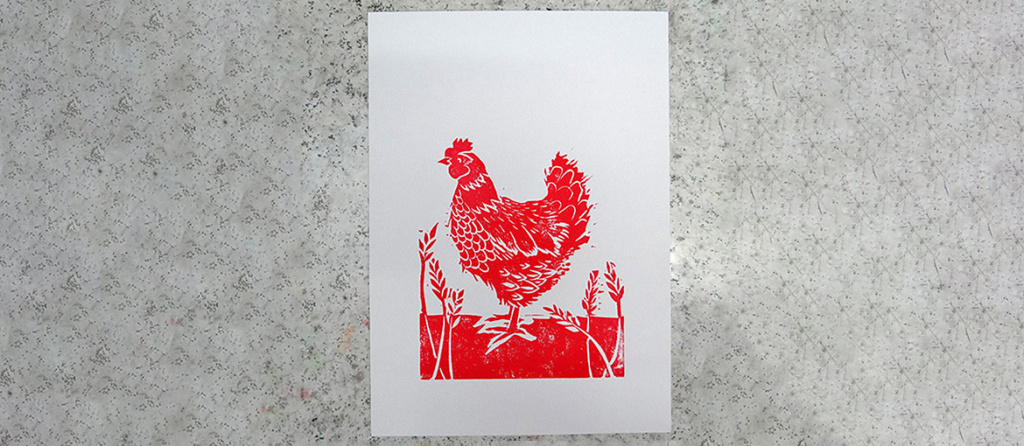
Handprinted
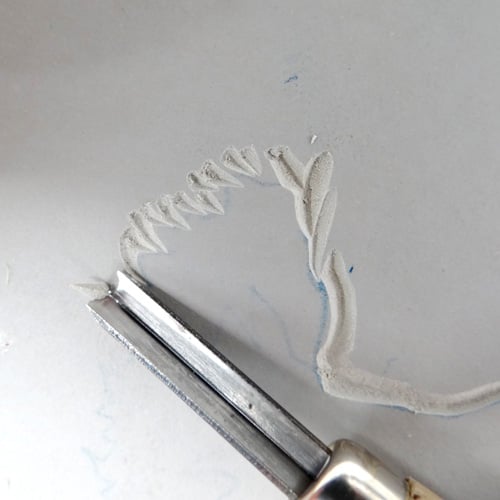
2.Outlines
To hollow out the die without risking injury, it is important to keep your hand free behind the chisel in case the point gets out of control. With a V-shaped chisel, carve the linoleum just outside the contour of the design, tracing the edges. This will ensure that the outlines will be more defined and sharp when printed. Anything that is hollowed out will then not be printed.
Handprinted
Handprinted
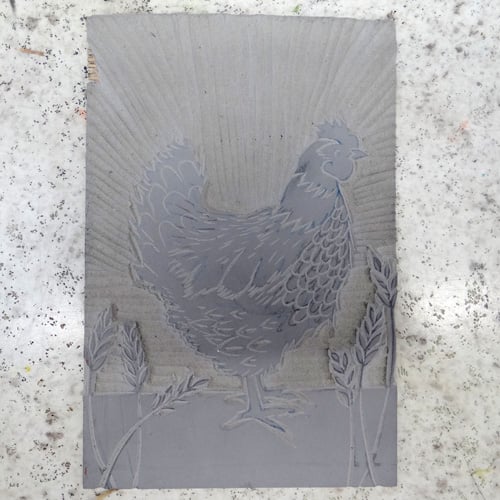
3.Background
If the background of the prepared image is meant to be white, then all of the background should be removed from the slab. A wide U-shaped chisel is the ideal tool for removing large portions of linoleum in a short time. There is no need to dig too deep, but rather it is advisable to keep to the surface so as not to expose the canvas on the back.
Handprinted
4.Pre-press
If a good level of accuracy is desired, a register sheet can be used to make sure the stencil is centered and straight on the printing paper.
At this point, distribute some ink on the glass panel and pull it with the roller both vertically and horizontally until the ink is more malleable and spreads evenly without leaving lines or streaks.

Image by Holly Newnham, from
Handprinted
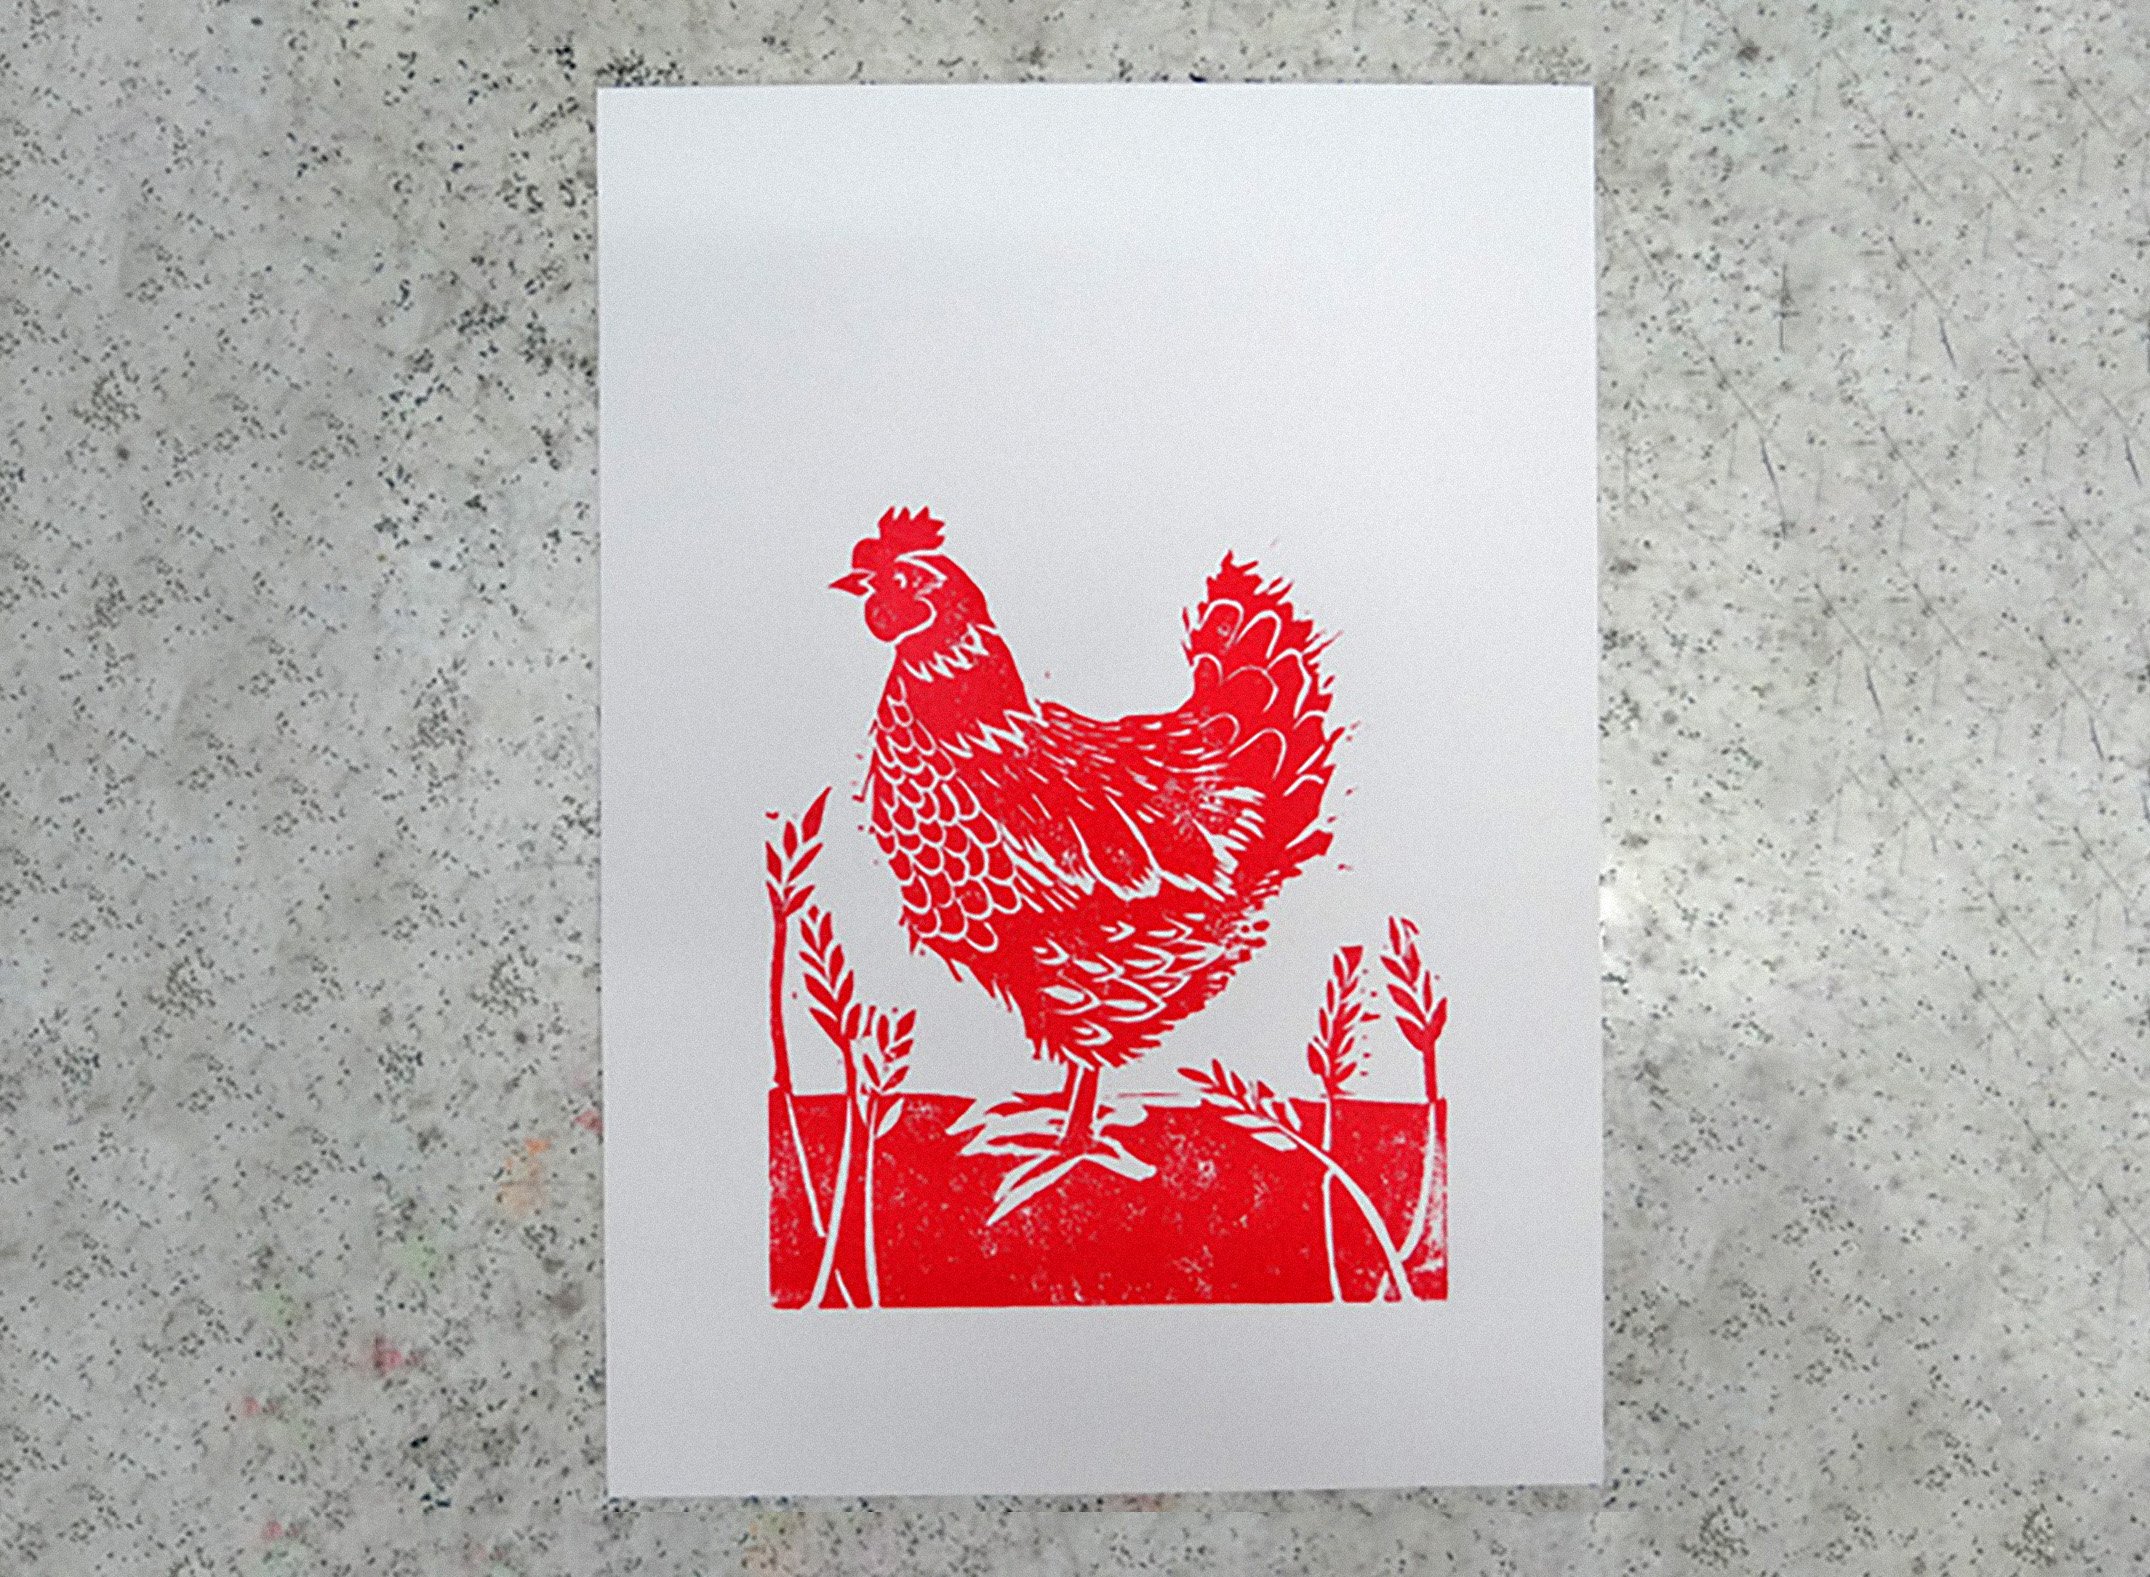
5.Printing
Spread the ink on the plate, making sure that all raised areas are inked. Place the printing paper on top of the die, and cover with baking paper. Using a wooden spoon, potholder or rag, rub the surface for a few minutes until the image has transferred.
Handprinted
6.Cleaning
The linoleum matrix can be cleaned and reused many times. To clean it, use a wet cloth to remove any excess ink. It is best to avoid putting the slab under water instead, as it will risk stiffening and bending. The wet cloth can also be used to clean the roller and glass panel before washing them under water.
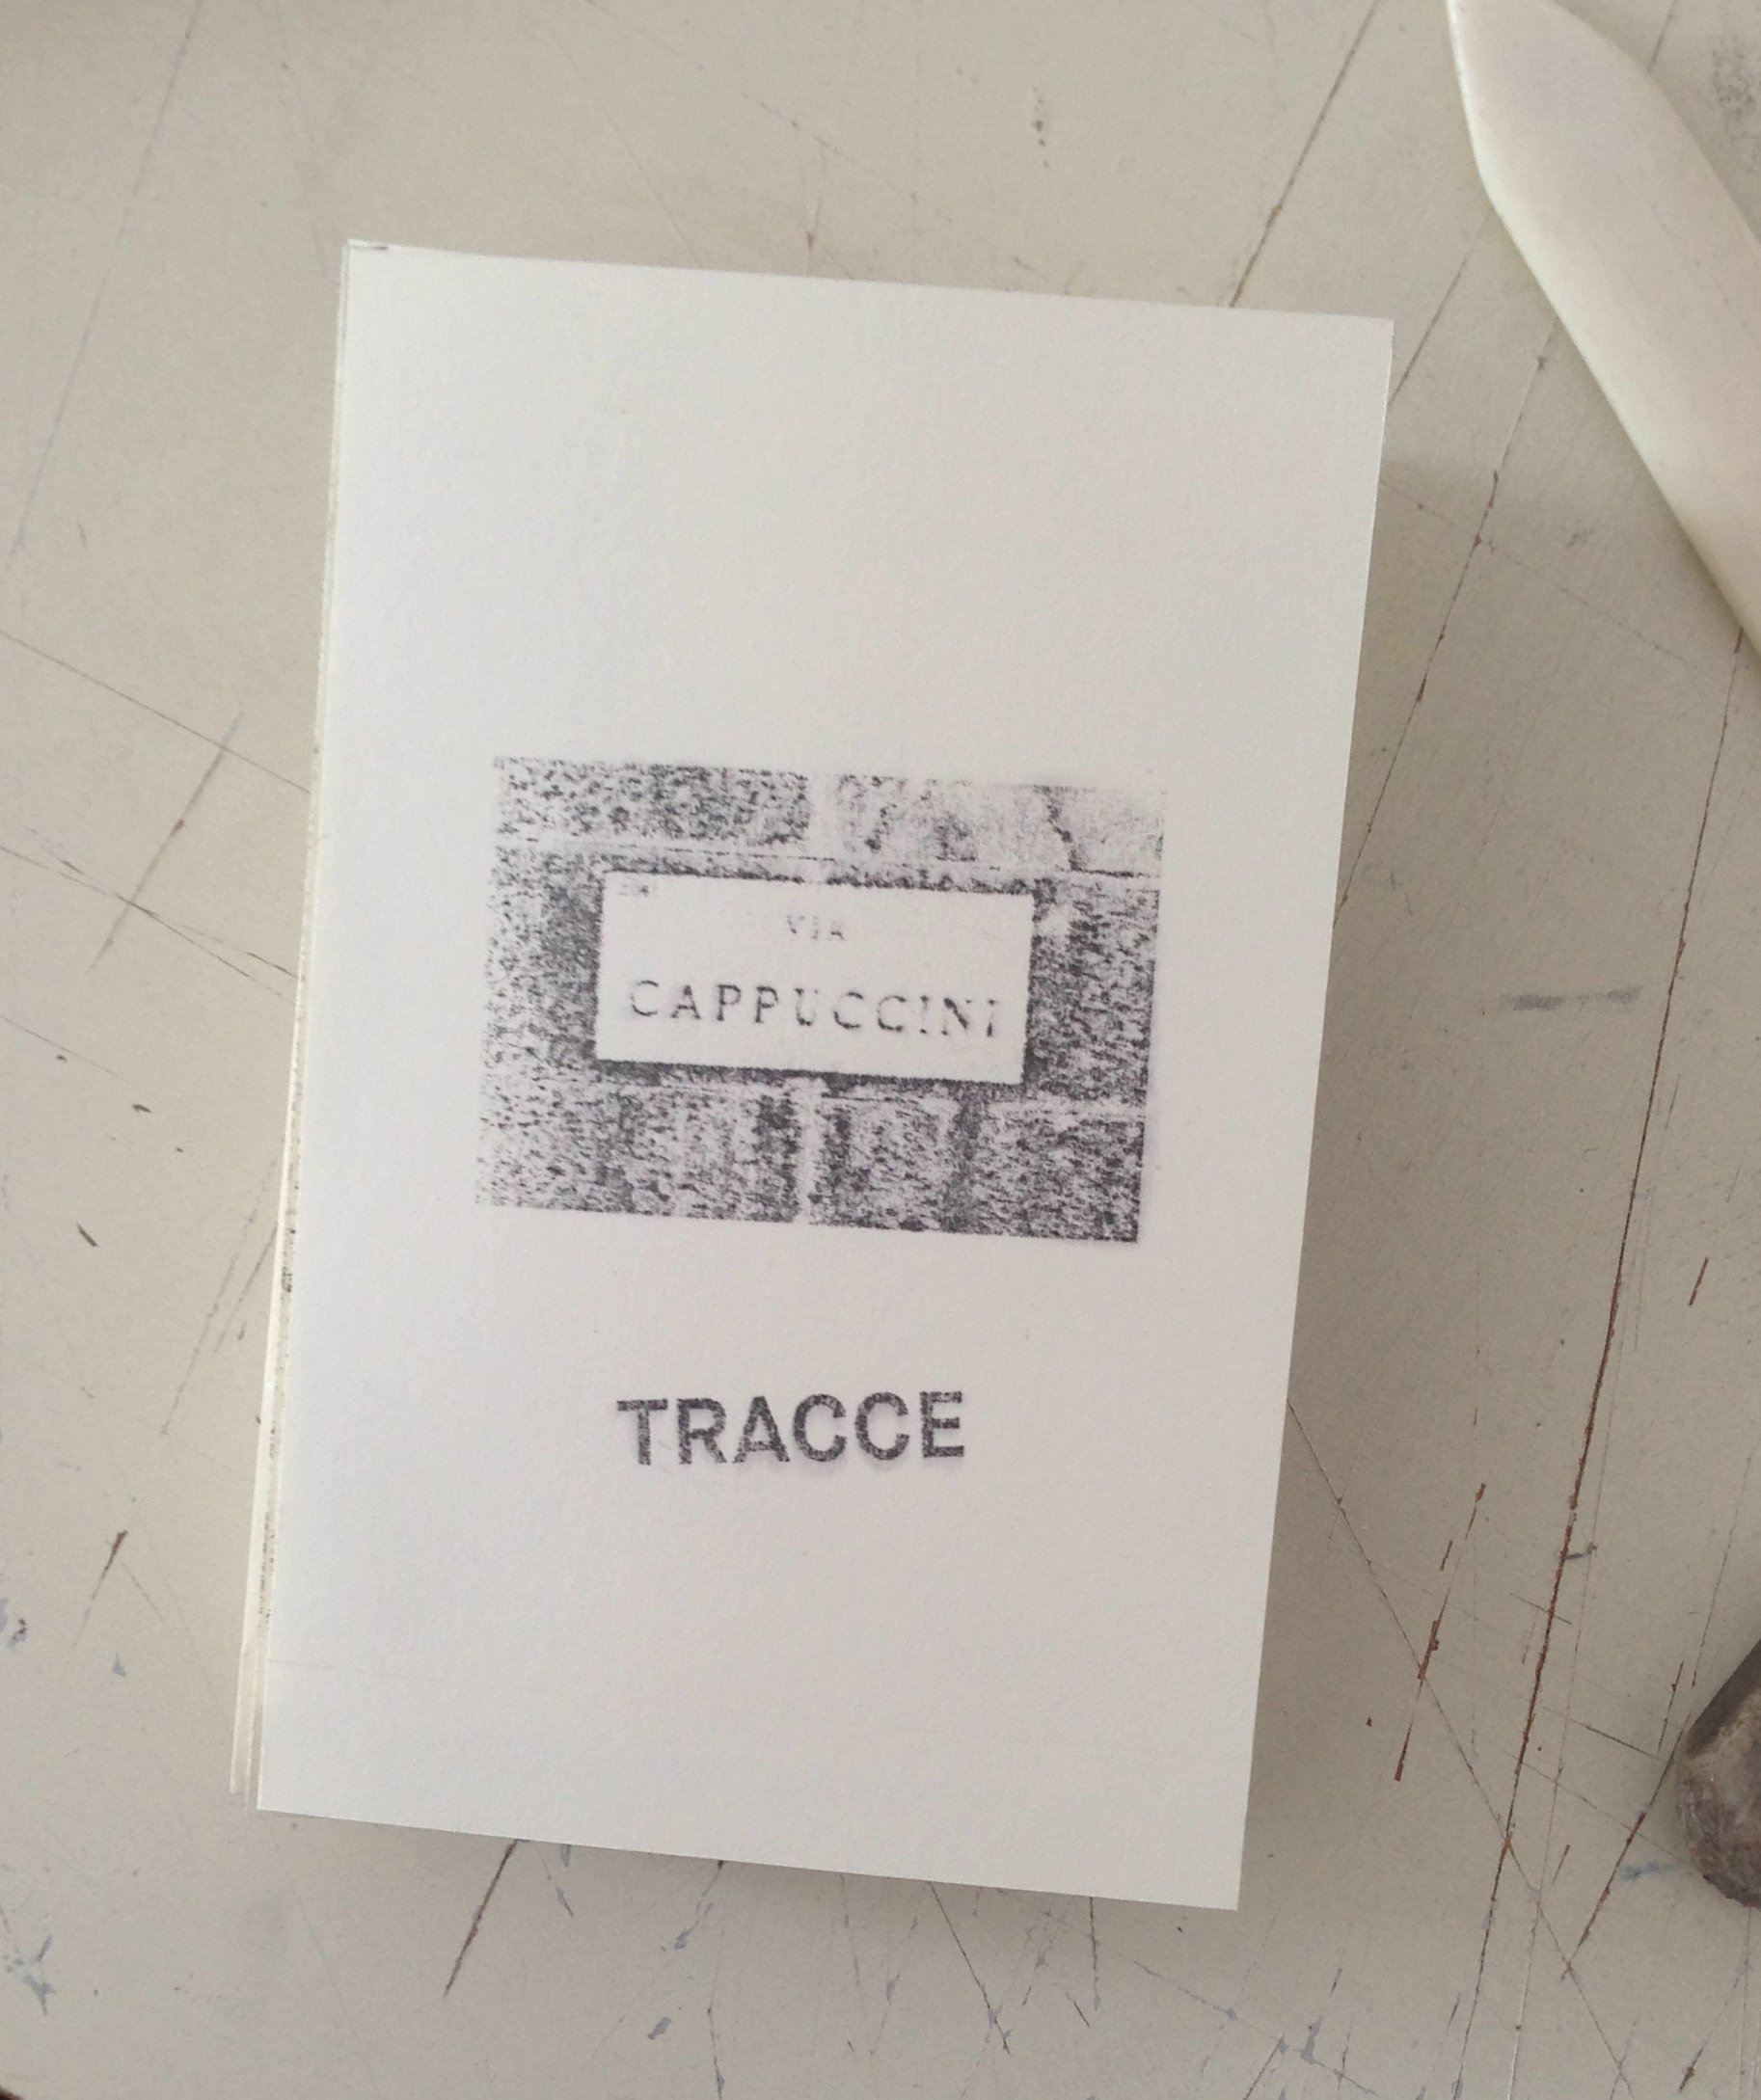
Transferring with a solvent
Relatively unknown, this printing technique allows images to be transferred from a sheet of paper to (almost) any other type of surface. Several types of solvents can be used: one of the most effective is nitro thinner, but the technique also works with some special types of acetone and trichloroethylene. In any case, all variations follow the same process.
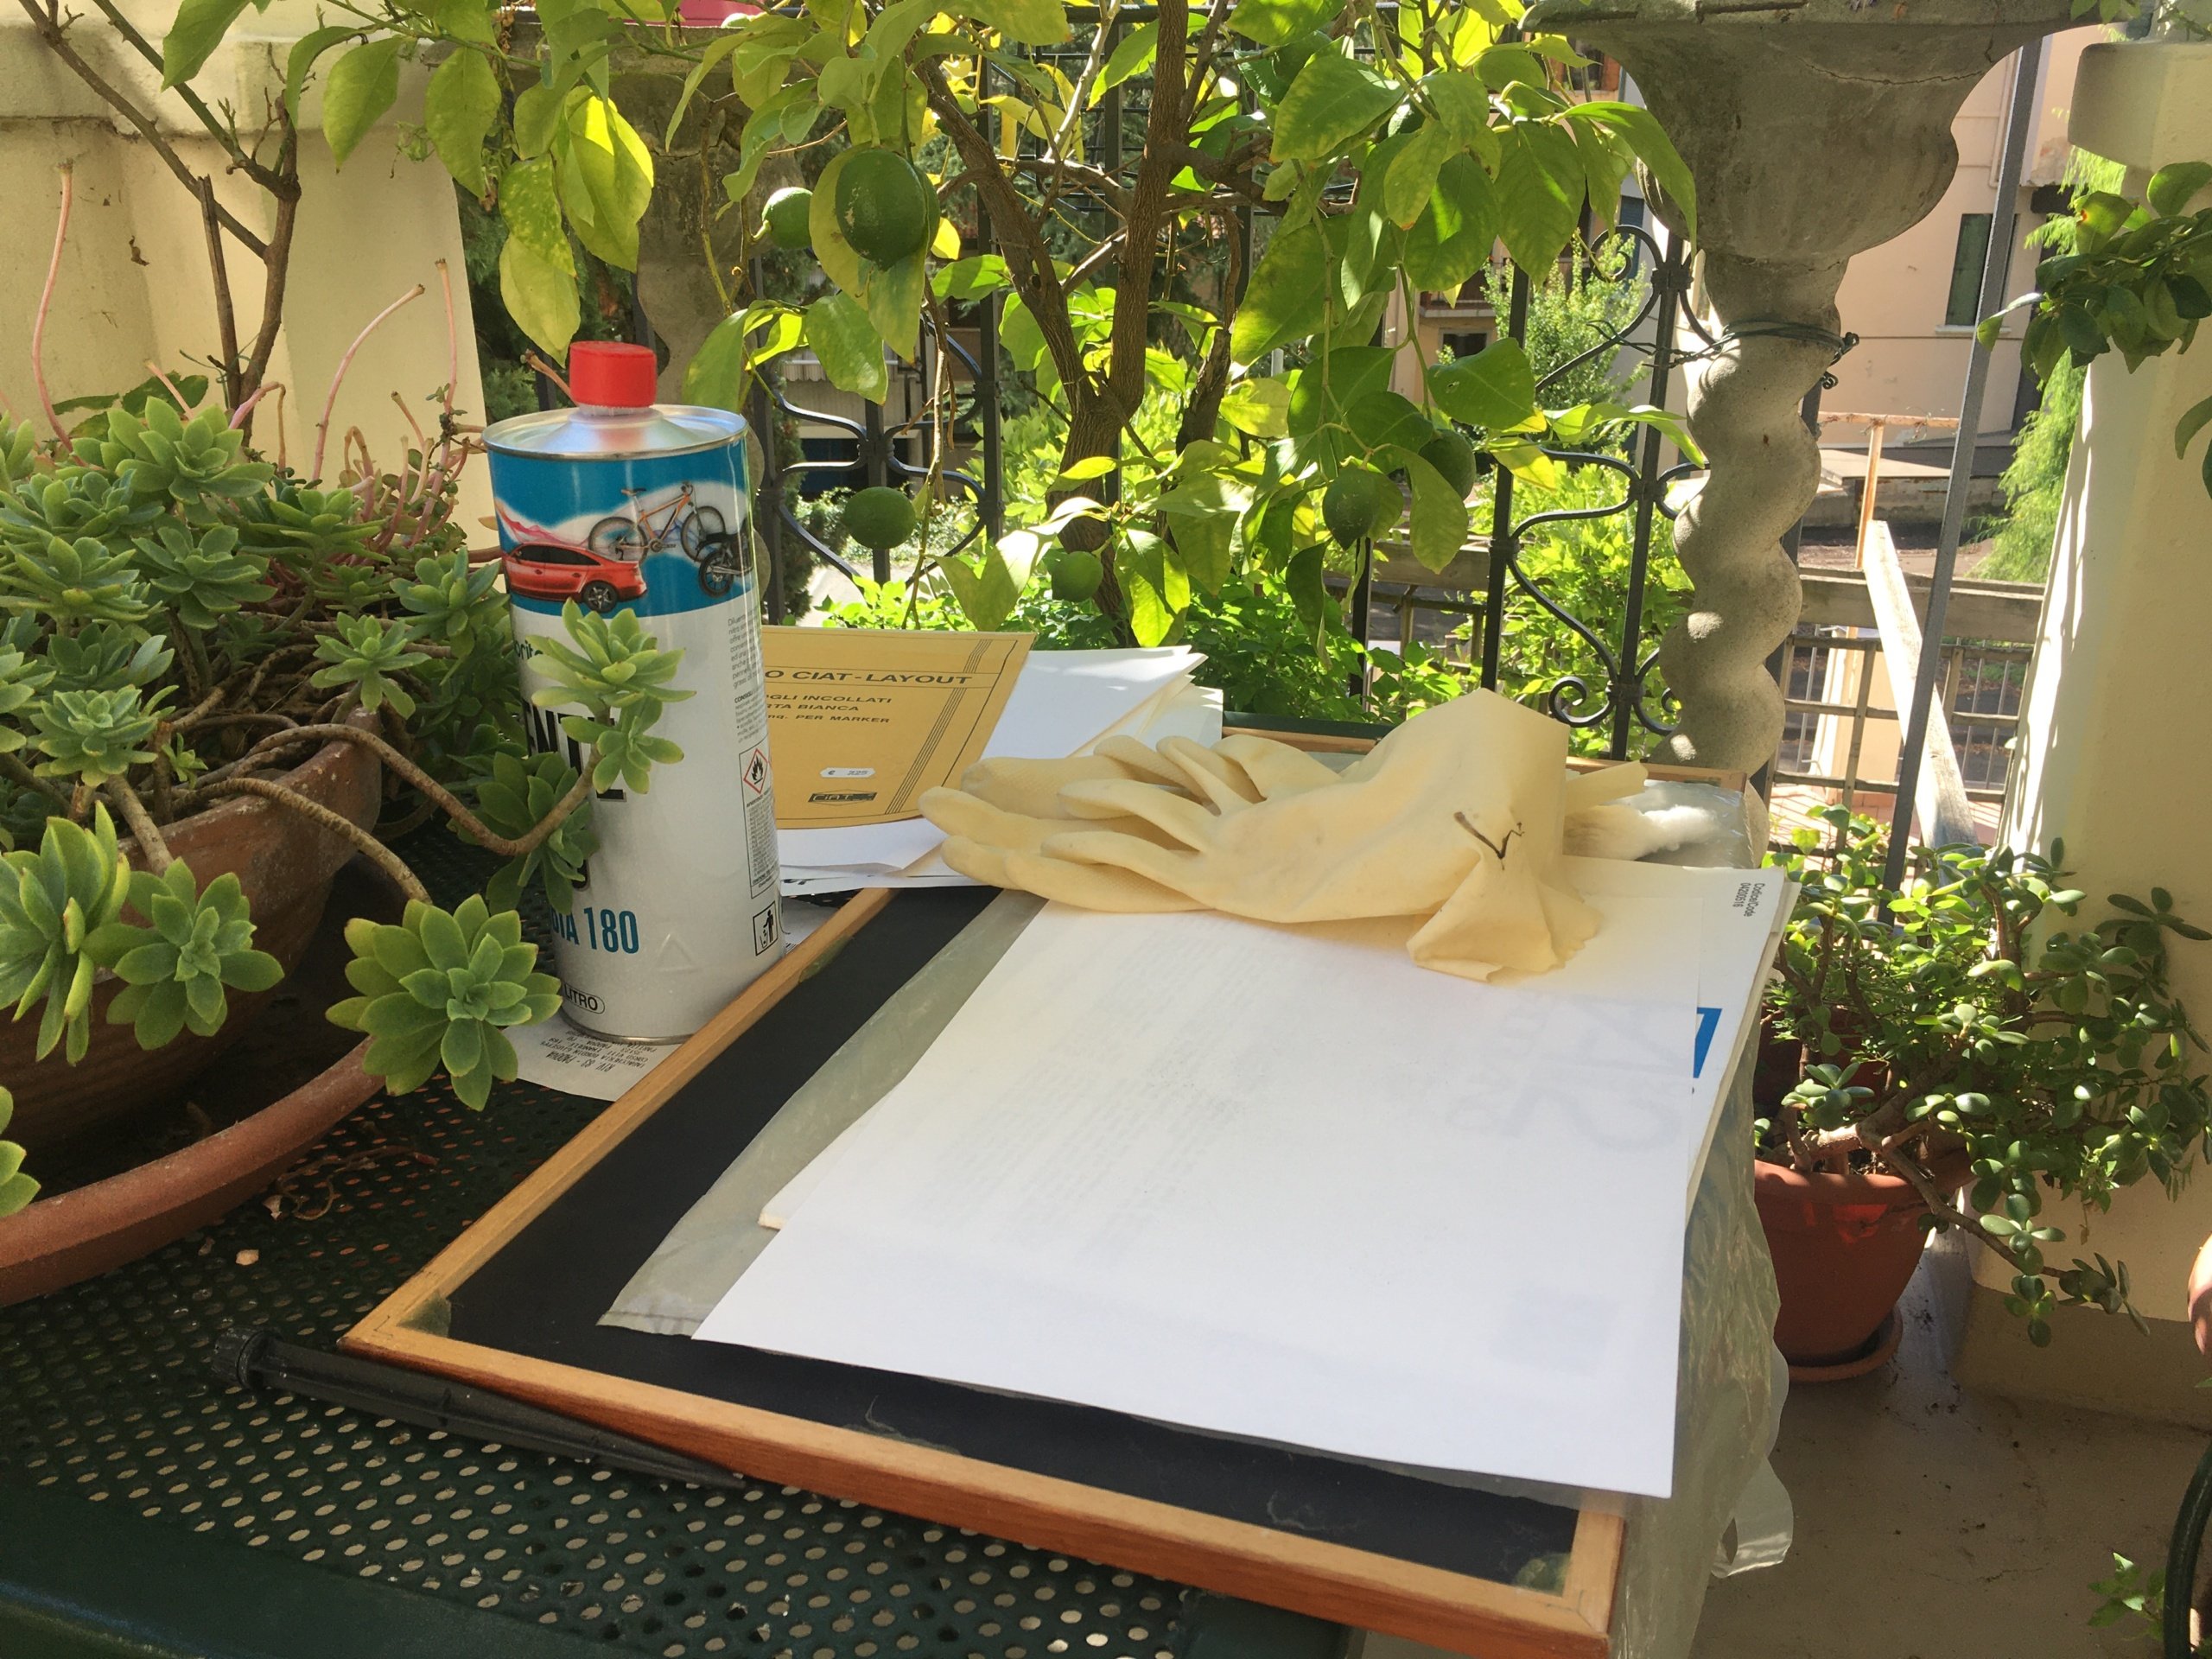
Need
- A laser-printed image on a sheet of paper
- Surface to print on (paper, wood, stone…)
- Nitro thinner (or another thinner that contains trichloroethylene)
- Face mask and gloves
- Cotton balls
Precautions
The process should preferably be carried out outdoors, or at least in a ventilated environment, using gloves and mask, to avoid direct contact or inhalation of the solvent.
The Process: transfer with a solvent
1.Preparation
The first step is to prepare the image, which is to be printed in black and white with a laser printer, preferably on light, smooth, uncoated paper. The chosen image should be printed mirrored, so that when transferred it will look straight. It is necessary to use a laser printer (and not inkjet) and to have an image with good contrast, otherwise the transfer will not work.
2.Transfer
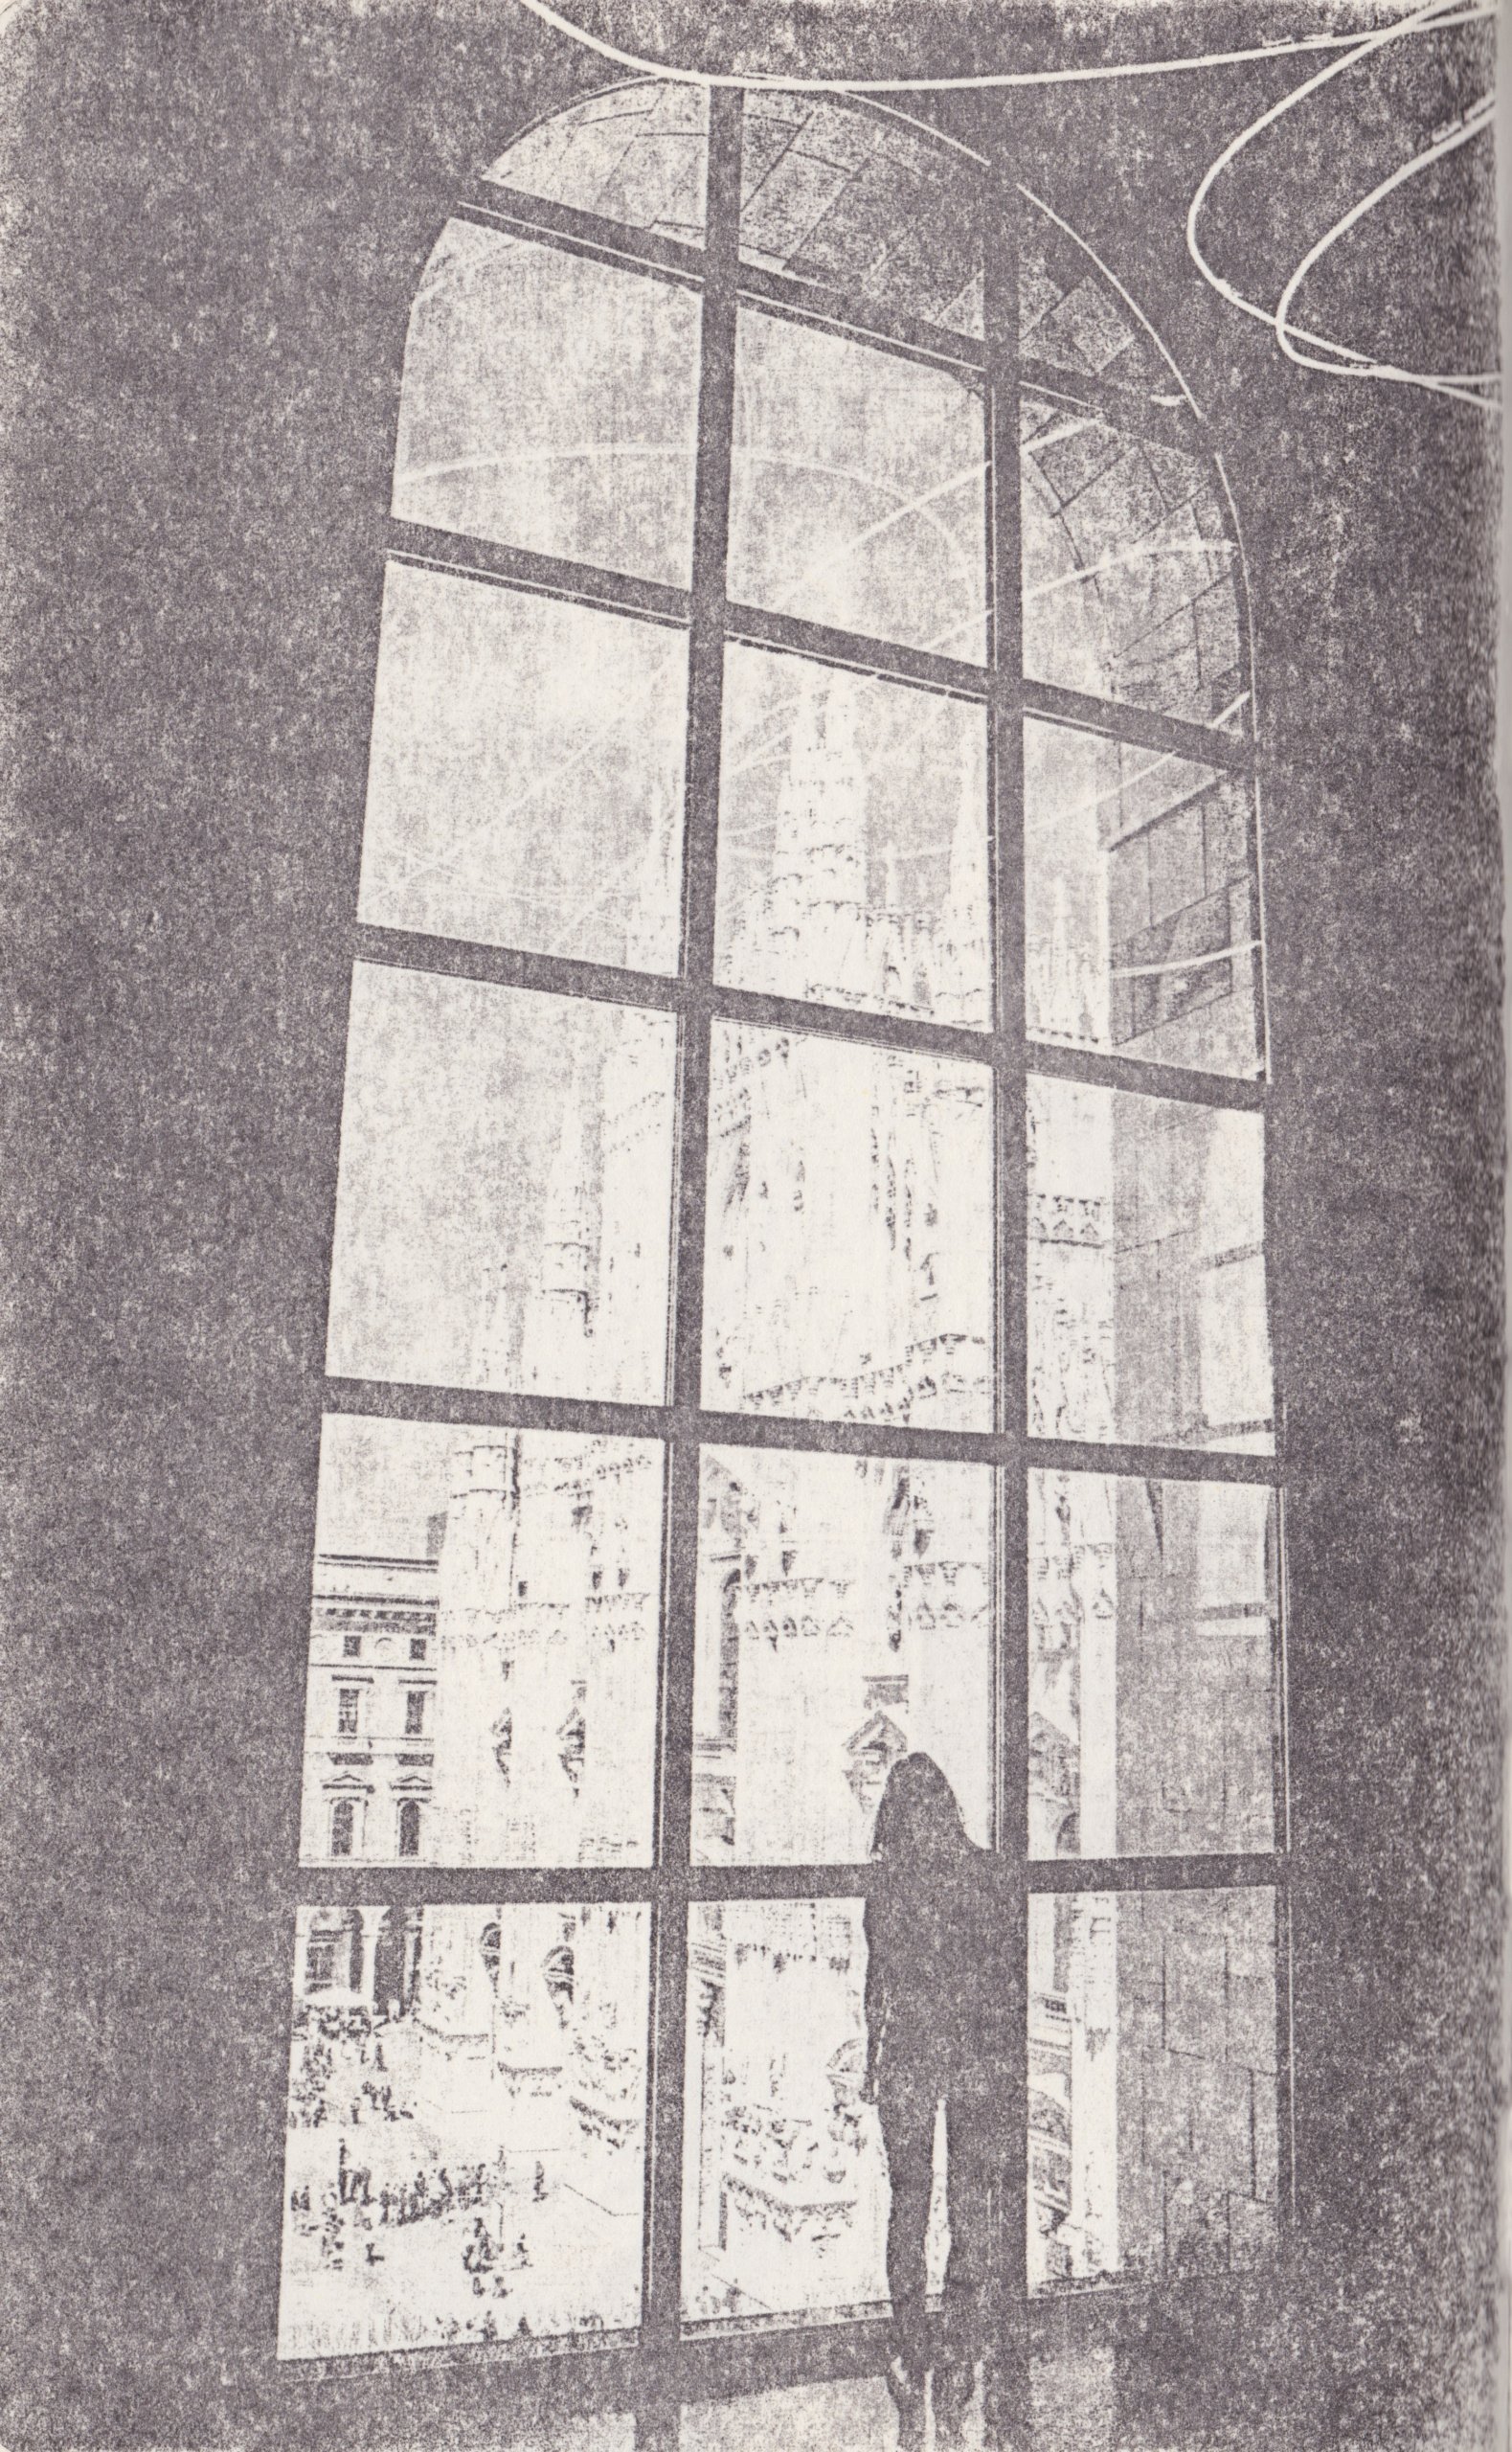
Using gloves and a mask, place the image face down (with the printed side down) over the surface you want to print. Using a cotton pad or cotton ball soaked in solvent, rub the printed area until the image is transferred. Depending on the amount of thinner used, you can create results that are closer to the laser-printed image, or more ‘experimental’.
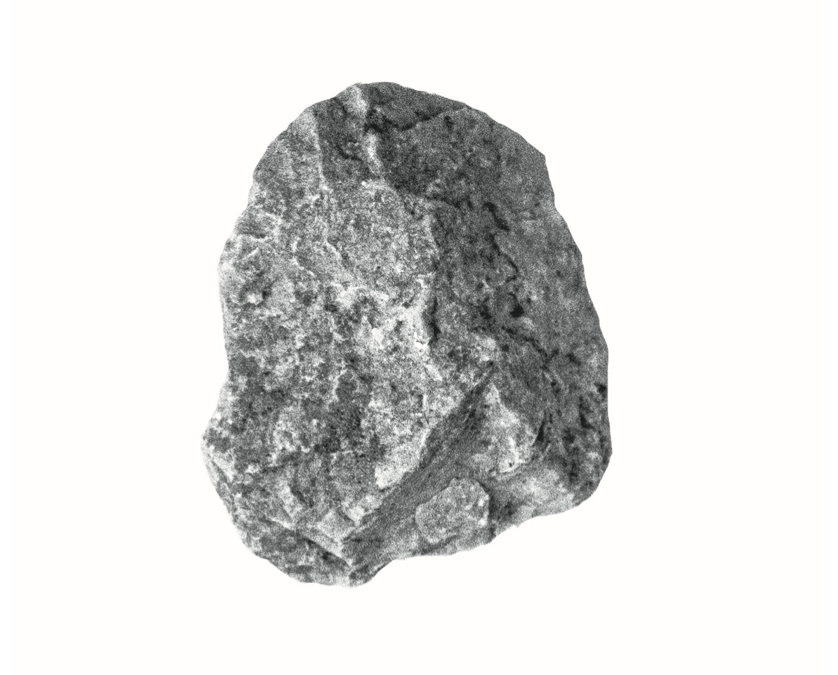
 These are clearly two techniques that work very differently and require different skills. The former, more ‘artistic’, requires more manual skill, the latter, more technical and experimental, goes by trial and error and can be particularly interesting when exploited on wood or stone. In both cases there is room to explore and adapt the techniques to your own project.